Fresh tomatoes are one of the highlights of summer. Whether you grow your own or buy them at a local farmers’ market, preserving tomatoes through canning is a great way to enjoy their flavor all year long.
Water bath canning is one of the safest and most accessible methods for home canners to preserve high-acid foods like tomatoes.
This guide walks you through everything you need to know to can tomatoes using a water bath, from preparation to storage. Let’s dive into the process.
Why Can Tomatoes?
Table of Contents

Tomatoes are versatile in the kitchen and foundational in countless recipes—soups, sauces, stews, chili, and more. Canning tomatoes at home allows you to:
- Control ingredients (no additives or preservatives)
- Save money by preserving bulk or homegrown produce
- Reduce food waste by storing excess harvest
- Enjoy superior flavor compared to many store-bought canned tomatoes
- Tomatoes are on the borderline between high- and low-acid foods, so proper acidification is key when water bath canning.
Equipment You’ll Need To Can Tomatoes
Before starting, ensure you have the necessary tools and equipment:
- Water bath canner – A large pot with a fitted lid and a rack on the bottom.
- Mason jars (pint or quart) – Use only jars designed for home canning.
- Lids and bands – Use new lids to ensure proper sealing; bands can be reused.
- Jar lifter – Essential for safely removing hot jars from boiling water.
- Funnel – For cleanly filling jars with tomatoes or liquid.
- Bubble remover or non-metallic spatula – To remove trapped air bubbles.
- Large bowls and knives – For prepping tomatoes.
- Slotted spoon – Useful for blanching and peeling.
- Tongs and ladle – For handling hot produce and liquids.
Ingredients Required To Can Tomatoes
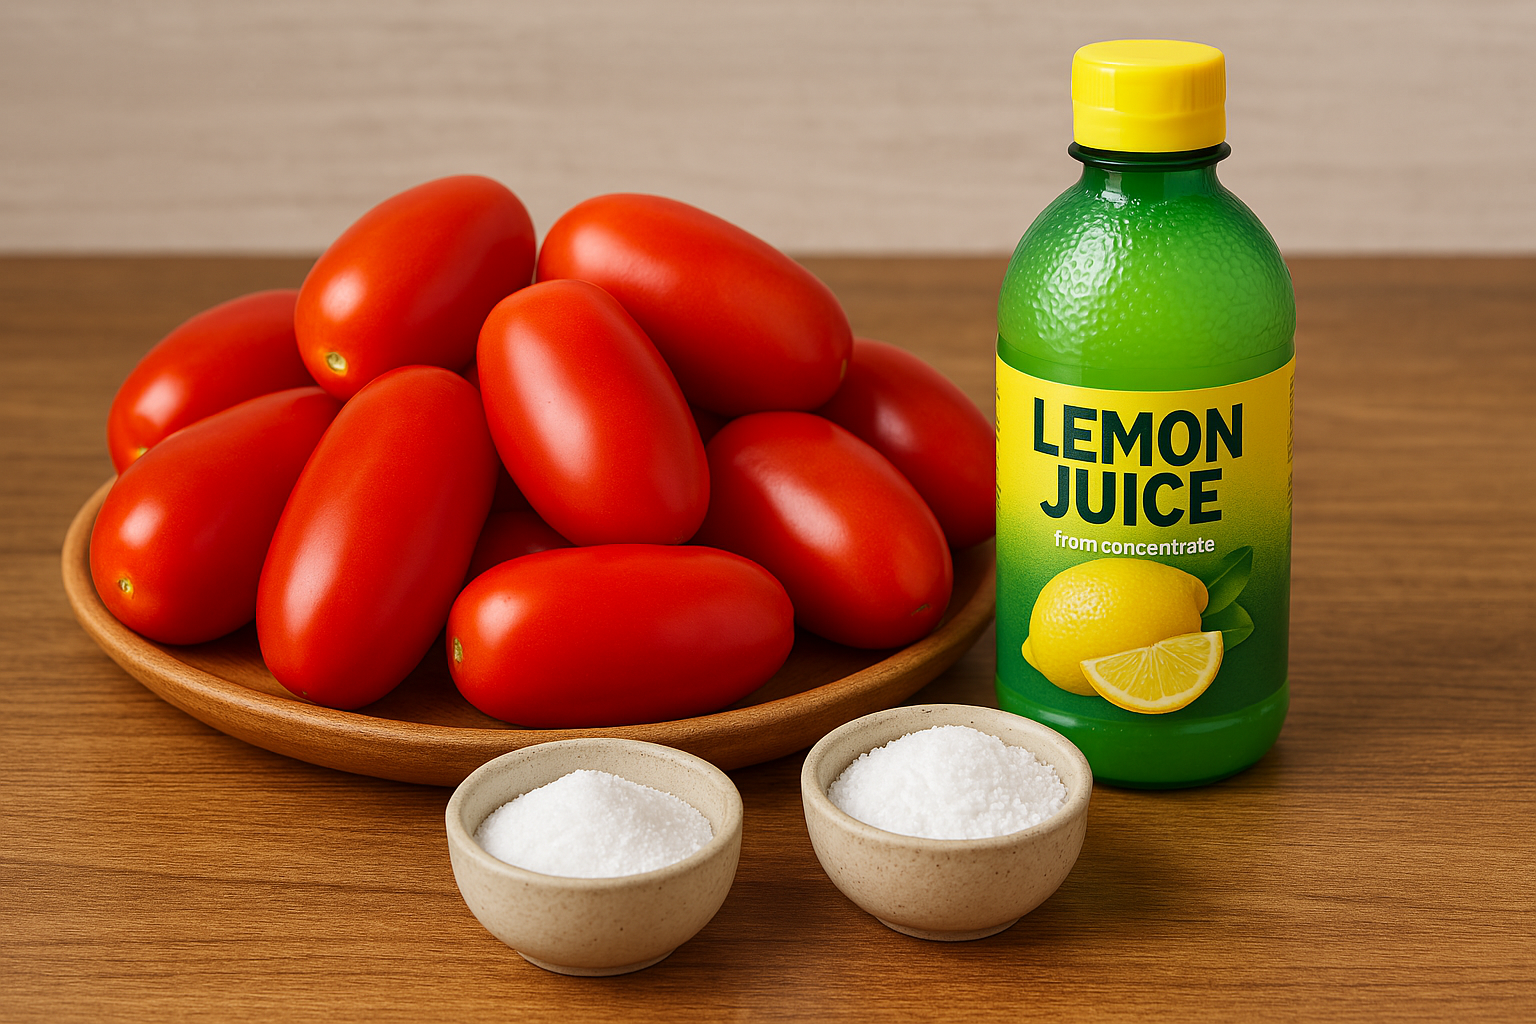
- Fresh, ripe tomatoes (plum or paste varieties like Roma are best)
- Bottled lemon juice or citric acid
- Optional – canning salt (for flavor only)
- Always use bottled lemon juice rather than fresh for consistent acidity.
Step-by-Step Instructions To Can Tomatoes
1. Prepare the Equipment
Wash jars, lids, and bands in hot, soapy water. Rinse well.
Place jars in your water bath canner filled with hot (not boiling) water and bring to a simmer to keep them hot until ready for use. This prevents cracking when hot tomatoes are added.
Heat lids in a small pot of hot water—not boiling—to soften the sealing compound.
2. Choose and Prep the Tomatoes
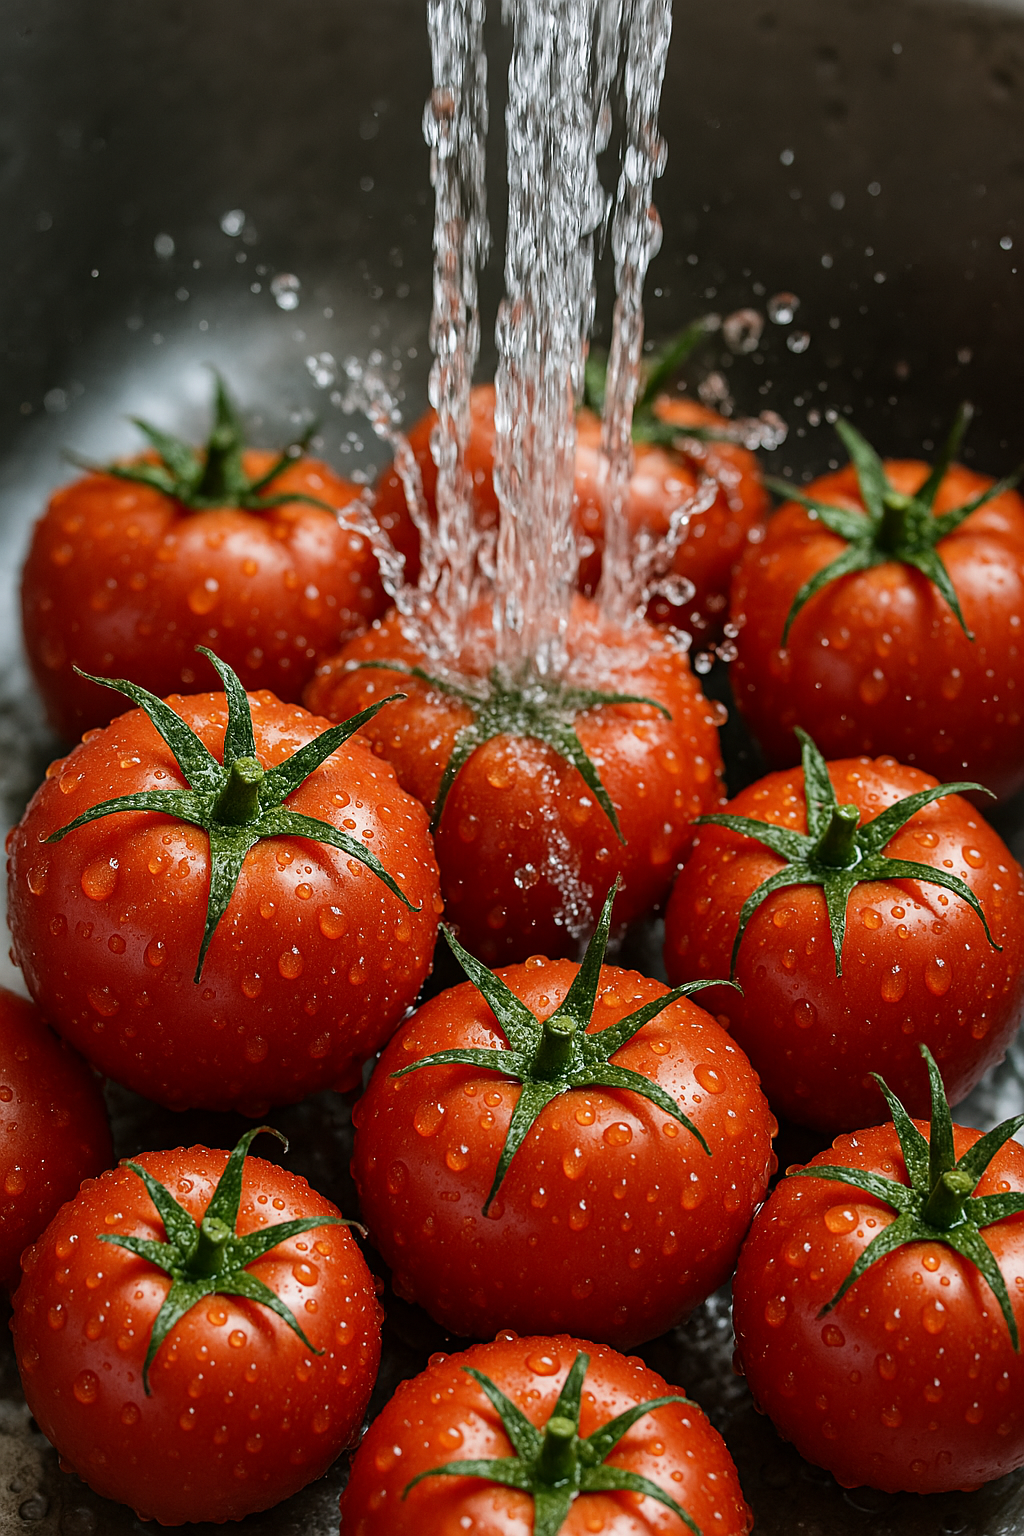
Select firm, ripe tomatoes without cracks or signs of spoilage. You can preserve tomatoes whole, halved, or crushed.
Bring a large pot of water to a boil.
Cut a small “X” on the bottom of each tomato.
Drop tomatoes into the boiling water for 30–60 seconds until the skins loosen.
Transfer to an ice water bath to cool quickly.
Peel off the skins using your fingers or a small knife.
You can leave tomatoes whole or cut them into halves or quarters depending on your preference.
3. Acidify the Jars
This is a critical safety step. Tomatoes have variable acidity, and water bath canning requires the proper pH level to prevent the growth of botulism-causing bacteria.
For each jar, add:
Pint jars – 1 tablespoon bottled lemon juice or 1/4 teaspoon citric acid
Quart jars – 2 tablespoons bottled lemon juice or 1/2 teaspoon citric acid
You can also add 1/2 teaspoon of canning salt per pint (1 teaspoon per quart) if desired, though it’s optional.
4. Pack the Tomatoes
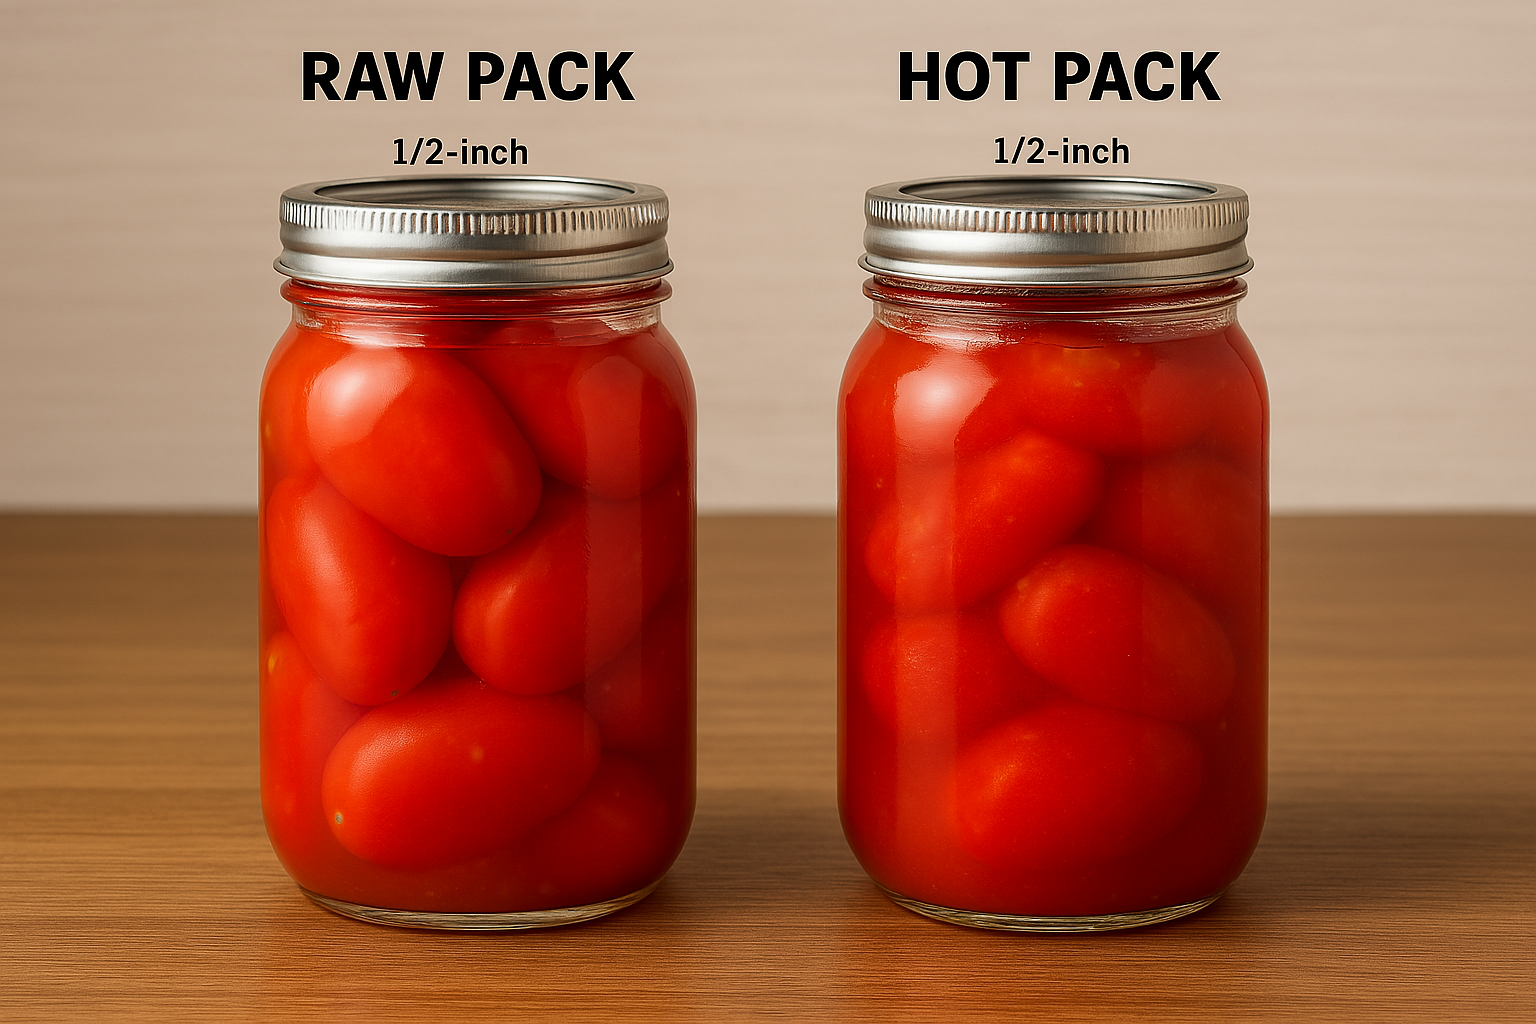
You can use either the raw pack or hot pack method.
Raw Pack –
Place raw peeled tomatoes into jars, pressing to release some juice and fill gaps.
Leave 1/2-inch headspace at the top.
Add boiling water or tomato juice to cover tomatoes if needed.
Hot Pack –
Simmer peeled tomatoes in a pot for 5 minutes.
Ladle hot tomatoes and juice into jars.
Leave 1/2-inch headspace.
Both methods are safe when proper acidification is used. Hot packing may result in better flavor and fewer air bubbles.
5. Remove Air Bubbles and Seal
Slide a non-metallic spatula or bubble remover tool down the sides of the jar to release trapped air.
Adjust headspace if needed by adding more tomatoes or juice.
Wipe the rims of the jars with a clean, damp cloth.
Place lids on top and screw bands on fingertip-tight.
6. Process in the Water Bath
Using a jar lifter, carefully lower the jars into the water bath canner. Make sure water covers the jars by at least 1–2 inches.
Put the lid on the canner and bring the water to a rolling boil.
Begin timing only when the water is fully boiling.
Processing Times:
Pint jars – 40 minutes
Quart jars – 45 minutes
Adjust for altitude:
1,001 to 3,000 feet -add 5 minutes
3,001 to 6,000 feet – add 10 minutes
Over 6,000 feet – add 15 minutes
7. Cool and Check Seals
After processing, turn off heat and let the jars sit in the canner for 5 minutes.
Using a jar lifter, remove jars and place them on a towel or rack. Leave space between jars.
Let jars cool undisturbed for 12–24 hours.
Check seals –
Press the center of each lid. It should not pop up and down.
If sealed correctly, the lid will be concave and firm.
Any unsealed jars should be refrigerated and used within a few days or reprocessed within 24 hours.
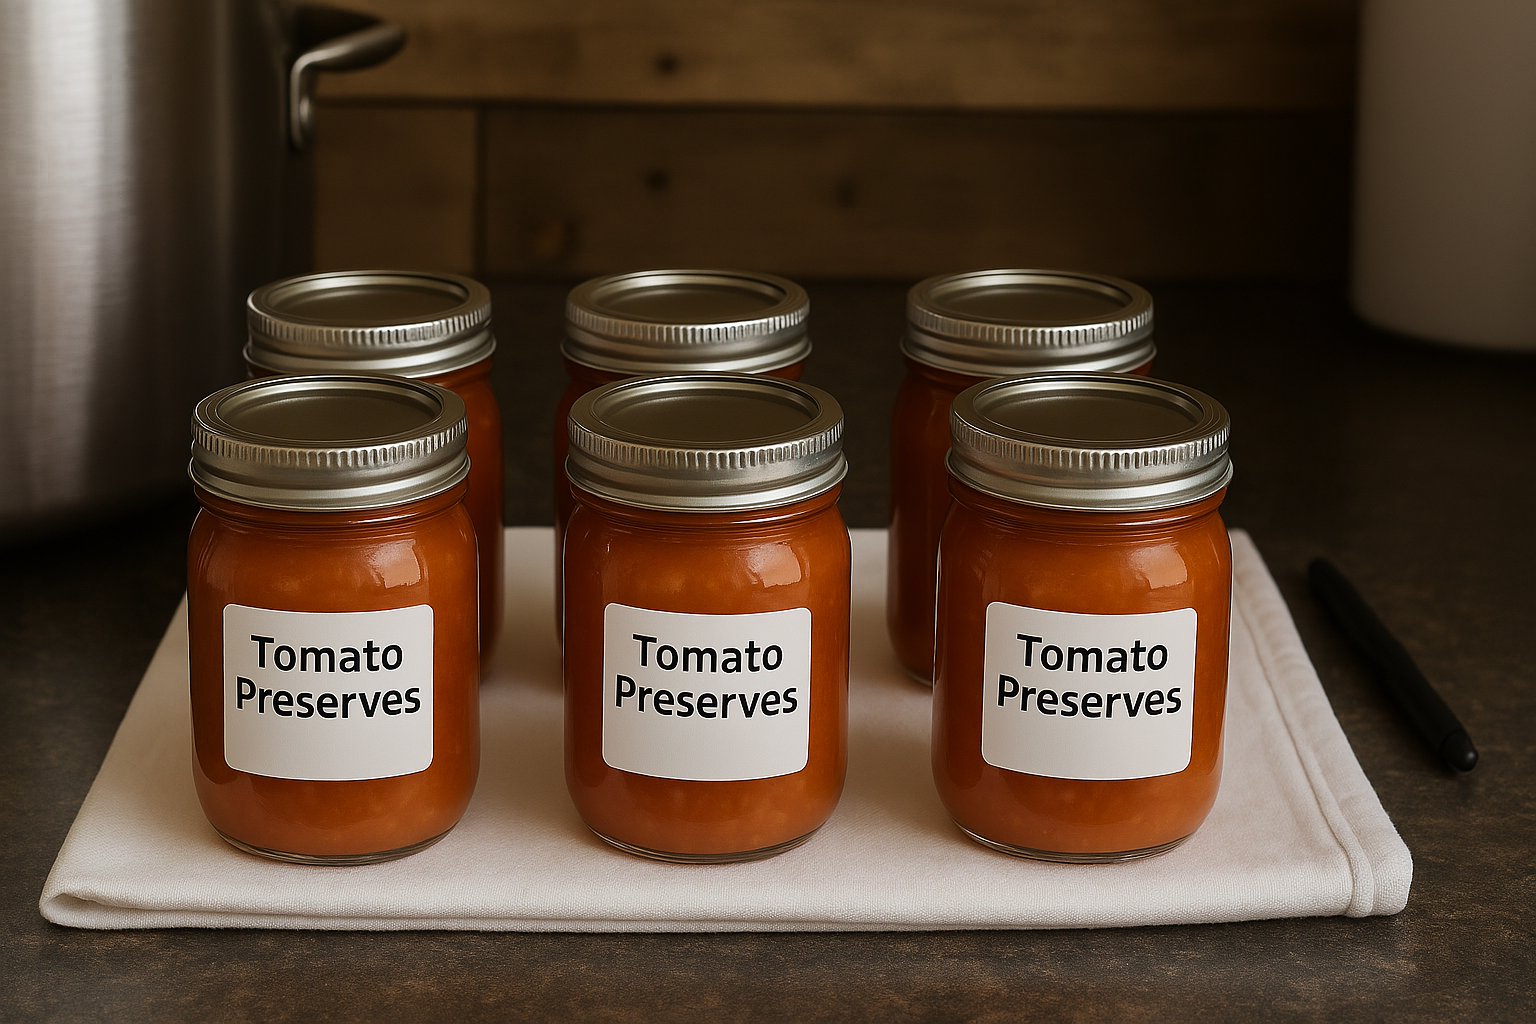
Storage and Shelf Life –
Remove the bands (optional) to prevent rusting.
Label each jar with the contents and date.
Store in a cool, dark place for up to 12–18 months.
Avoid storing in direct sunlight or in areas with high humidity or temperature swings.
Common Mistakes to Avoid While Canning Tomatoes
Skipping acidification – This is a non-negotiable step. Always acidify tomatoes before canning.
Using damaged jars or lids – Even small chips can prevent a proper seal.
Improper headspace – Too little or too much can cause seal failure or spoilage.
Not adjusting for altitude -Failing to increase processing time for high elevations compromises safety.
Wrapping Up
Canning tomatoes at home is a satisfying and practical way to preserve summer’s harvest. With a little preparation and attention to detail, you can fill your pantry with jars of bright, flavorful tomatoes ready to enhance any dish throughout the year.
Whether you’re a beginner or a seasoned canner, this timeless method connects you to generations of home preservers and brings a taste of sunshine to your table even in the depths of winter.
Leave a Reply