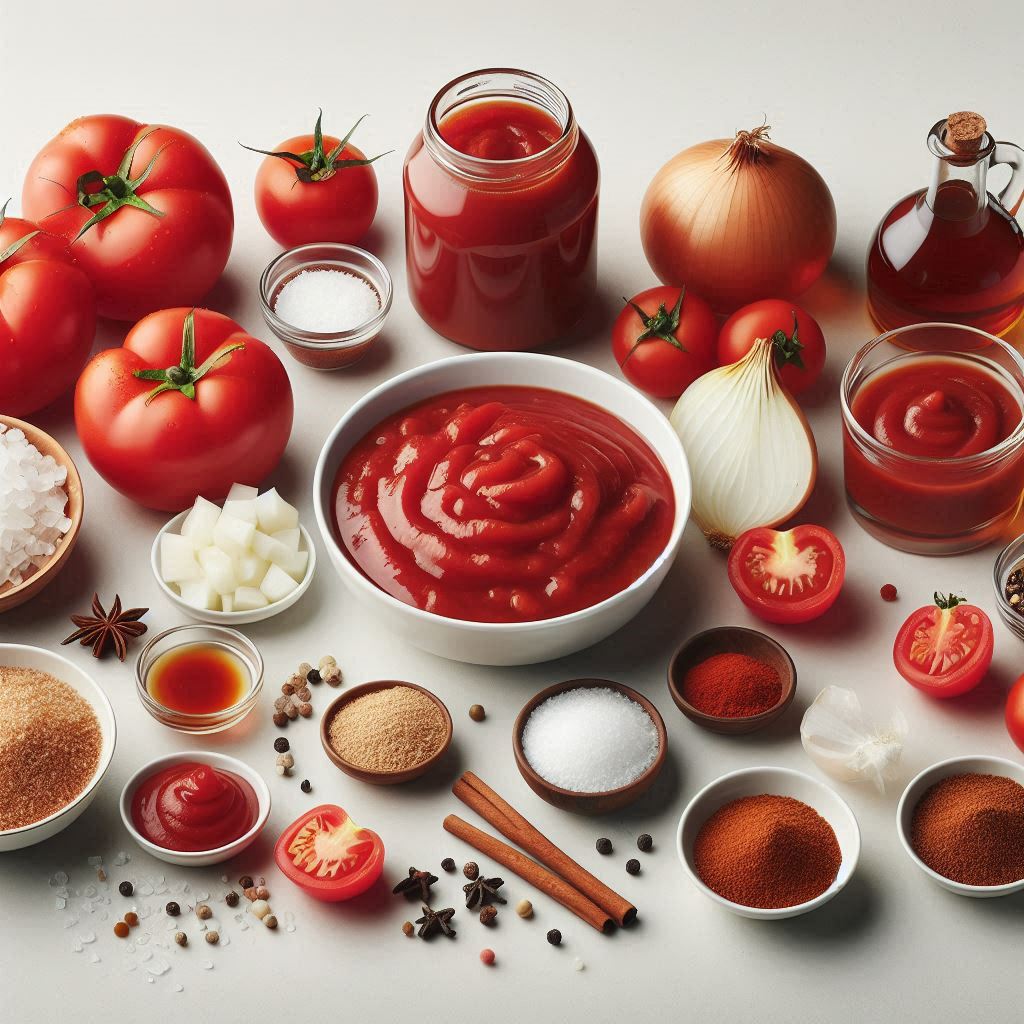
Tomato paste is a rich, concentrated form of tomatoes that adds deep umami flavor and vibrant color to countless dishes. While store-bought options are convenient, homemade tomato paste surpasses them in taste, freshness, and customization.
Making your own allows you to control every ingredient, avoid preservatives, and even experiment with flavors. This guide will provide you with everything you need to know to make your own tomato paste from scratch.
What Is Tomato Paste?
Table of Contents
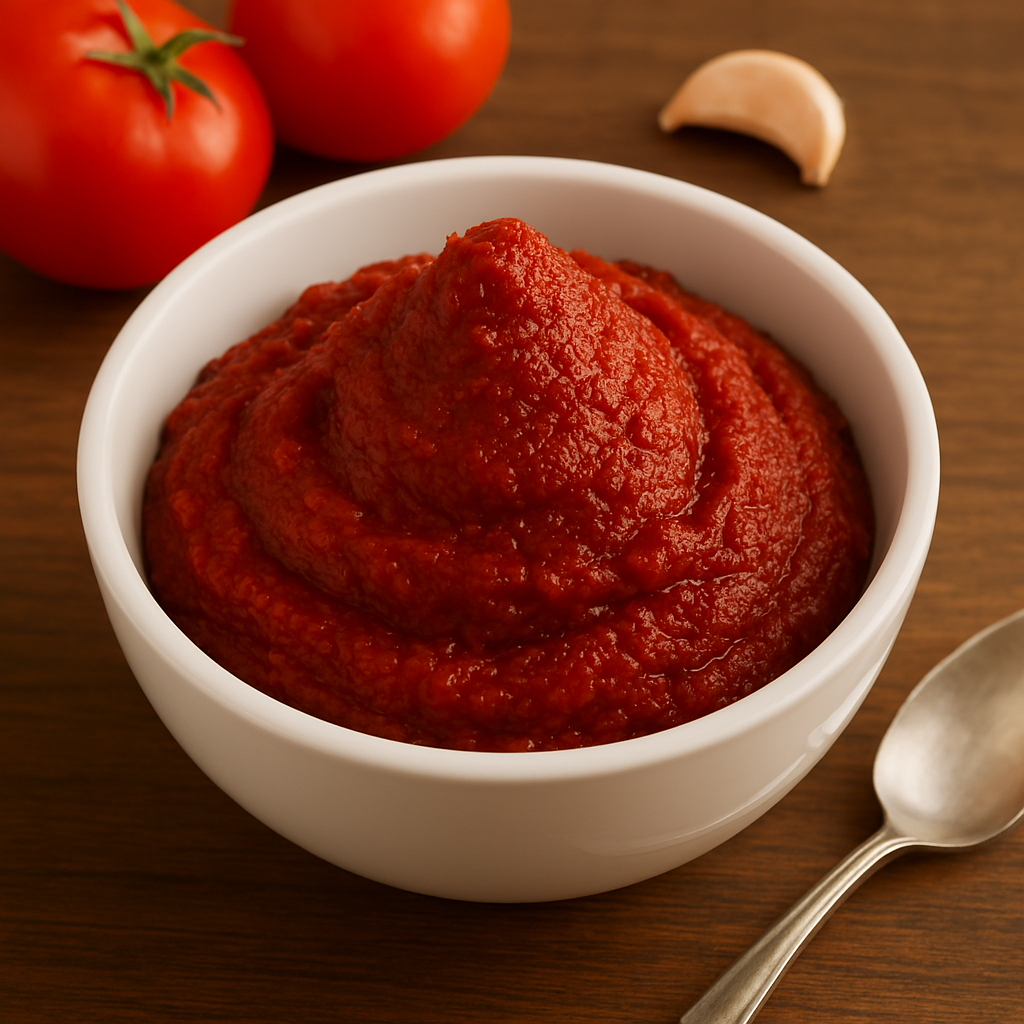
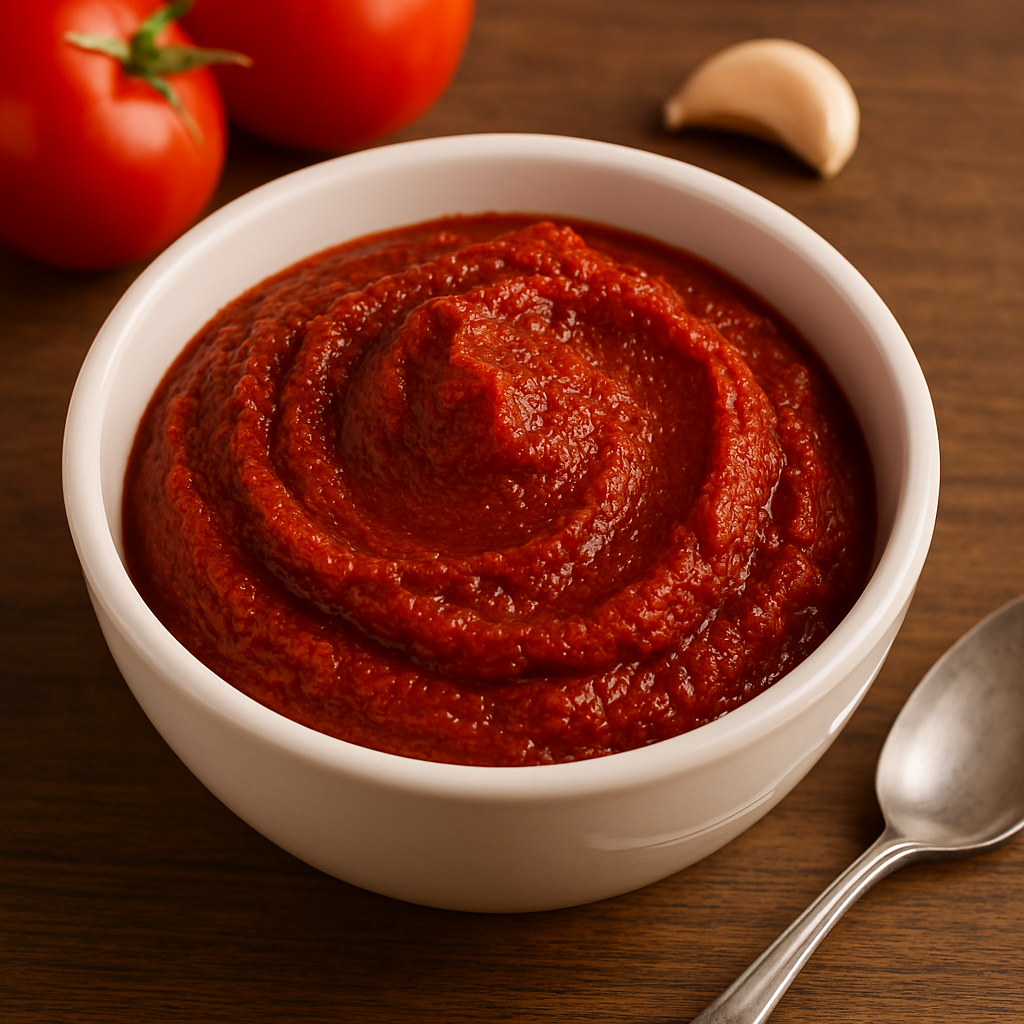
Tomato paste is a thick, concentrated tomato product made by cooking tomatoes for several hours to reduce moisture, straining out the skins and seeds, and cooking the pulp again until it’s very thick and intensely flavored.
It is commonly used in:
Why Make Tomato Paste at Home?
Making tomato paste from scratch has several benefits:
- Superior Flavor – Homemade paste has a depth and sweetness that factory-processed versions often lack.
- Healthier – You control the salt, oil, and preservatives.
- Sustainability – Reduce packaging waste and use seasonal produce.
- Customization – Add herbs or spices for unique flavors.
Best Tomatoes for Paste

Not all tomatoes are created equal. For tomato paste, plum or paste tomatoes are the best choice because they are:
- Meaty with fewer seeds
- Lower in water content
- Higher in natural sugars
Recommended Varieties:
- Roma
- San Marzano
- Amish Paste
- Opalka
- Big Mama
Avoid salad or slicing tomatoes like Beefsteak or Heirloom unless you’re okay with longer cooking times due to their high water content.
Ingredients & Equipment
Ingredients:
- Fresh ripe tomatoes (10–12 lbs yields ~1 pint of paste)
- Salt (optional, 1–2 tsp)
- Olive oil (optional, for storage)
- Lemon juice (optional, for canning)
Equipment:
- Large stockpot or Dutch oven
- Food mill or fine-mesh sieve
- Sharp knife and cutting board
- Baking sheet or wide saucepan (for reduction)
- Wooden spoon or spatula
- Blender (optional)
- Jars or containers for storage
Step-by-Step Process To Make Tomato Paste
Wash and Prepare Tomatoes
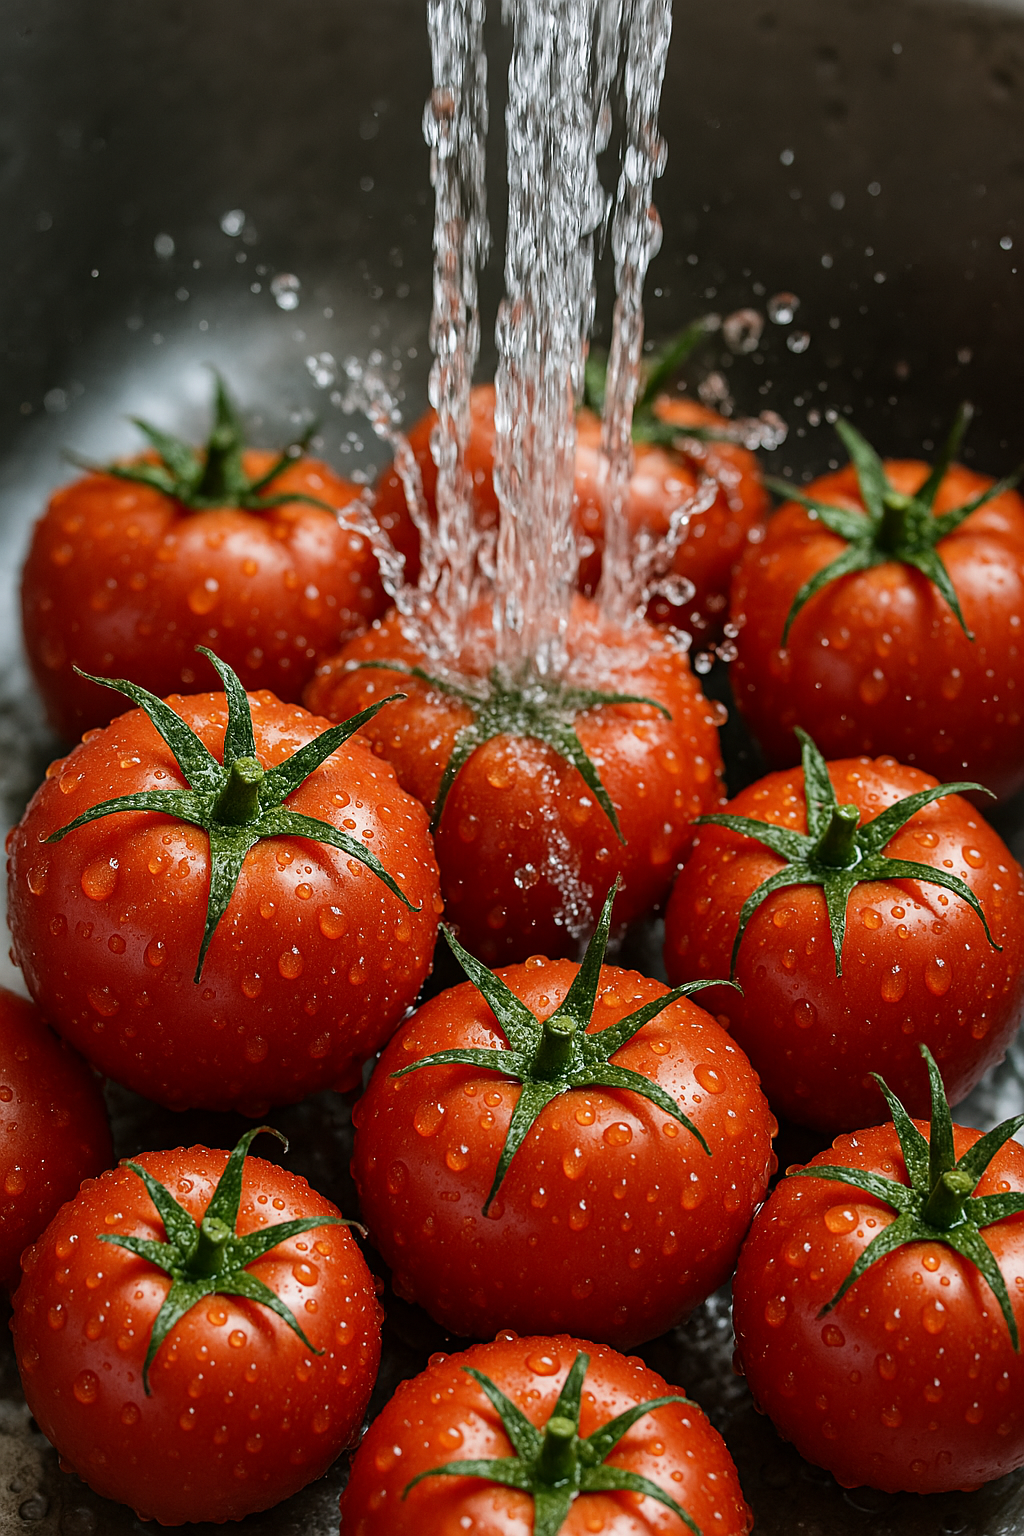
- Wash your tomatoes thoroughly under cold running water.
- Cut out any blemishes or black spots.
- Remove stems and core the tomatoes.
- Cut them into quarters or halves.
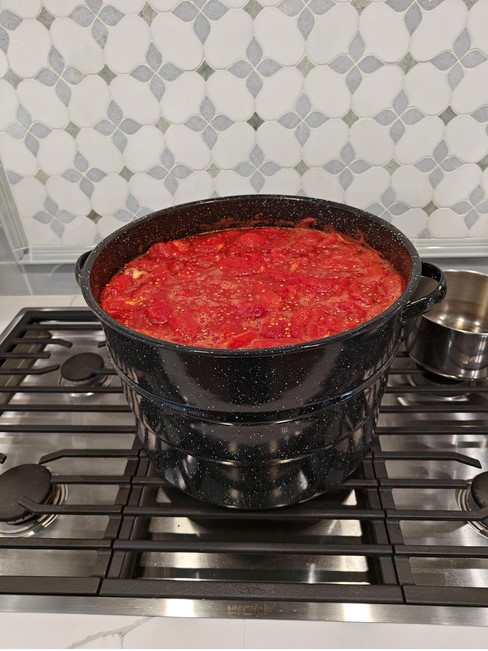
Cook the Tomatoes (Softening Stage)

- Place the chopped tomatoes into a large pot.
- Cover and cook over medium heat for 15–20 minutes, stirring occasionally.
- The tomatoes will release juices and begin to break down.
Blend or Mill the Tomatoes
- You now need to remove skins and seeds.
- Run the softened tomatoes through a food mill using the medium or fine plate.
- If you don’t have a food mill, blend the tomatoes and strain through a fine mesh sieve or cheesecloth.
- This leaves you with a smooth tomato purée.
Reduce the Tomato Purée
- Now, you’ll concentrate the flavor.
- Transfer the purée to a wide, shallow pan—more surface area speeds up evaporation.
- Simmer uncovered on low to medium heat for 2 to 3 hours, stirring frequently.Stir often to avoid scorching.
- As it thickens, stir constantly.
- The paste is ready when it holds its shape on a spoon and has a deep red color.
Optional Oven Reduction
To avoid constant stirring, transfer the purée to a rimmed baking sheet and bake at 250°F (120°C) for another 2–3 hours, stirring every 30 minutes. This is especially effective for large batches.
Season (Optional)
- Once thickened, taste the paste.
- Add salt to enhance flavor.
- Add optional extras like garlic, basil, or oregano for unique variations.
Final Check
Your tomato paste is ready when:
- It’s dark red.
- It’s thick and holds its shape.
- There’s no standing water or separation.
Tips for Flavor Boosts
Want to elevate your paste? Try adding these before the final reduction:
- Garlic cloves (roasted or sautéed)
- Fresh basil or thyme
- Caramelized onion
- Red pepper flakes for heat
- Balsamic vinegar for sweetness
- Be cautious with additions if you plan to can or store the paste long-term, as they may affect pH balance.
Storage Methods
- Store in airtight containers.
- Drizzle olive oil over the top to reduce air exposure.
- Keeps for 7–10 days in the fridge.
Freezing
- Spoon into ice cube trays and freeze.
- Transfer cubes to a freezer-safe bag.
- Keeps for 6–9 months.
Canning
If canning, follow proper guidelines:
- Add 1 tablespoon lemon juice per pint (or ½ tbsp per half-pint) to maintain acidity.
- Process in a boiling water bath for 35 minutes.
- Store in a cool, dark place.
- Keeps for up to 1 year.
Common Mistakes to Avoid While Making Tomato Paste
Using Watery Tomatoes
Stick to paste varieties for best yield and efficiency.
Rushing the Reduction
Low and slow wins the race. Rushing leads to burning or uneven concentration.
Not Stirring Enough
As it thickens, it’s more prone to burning. Stir often, especially at the end.
Skipping the Straining Step
Skins and seeds can make the paste bitter or gritty.
Improper Storage
Always seal tightly and label with the date. Avoid cross-contamination.
Using Tomato Paste in Recipes

Homemade tomato paste can be used just like store-bought, but with better results:
Soups & stews – Adds depth and body.
Sauces – Forms the base for pasta sauces, pizza sauce, etc.
Meat dishes – Enhances marinades and braises.
Curry bases –Deepens color and umami flavor.
Sauté base – Fry with onions and garlic to start any dish.
Sauté tomato paste in oil for 1–2 minutes before adding liquids—it caramelizes sugars and brings out a richer flavor.
Final Thoughts
Making tomato paste at home is a rewarding and simple process that delivers exceptional taste and quality. While it does take time and patience, the end result is a deeply flavorful, rich tomato concentrate that elevates any dish.
Whether you’re preserving your summer harvest or simply trying to cut down on packaged foods, this DIY project is worth the effort.
Once you’ve made your first batch, you’ll understand why so many home cooks swear by it. Customize it, can it, freeze it, and most importantly—use it often!
Leave a Reply