Tomatoes are the heart of countless recipes—from hearty stews to tangy pasta sauces. Preserving them at home allows you to capture the peak of summer flavor and enjoy it year-round.
While water bath canning has traditionally been used, pressure canning is the safest and most reliable method for modern tomato varieties, which often have lower acidity.
By using a pressure canner, you ensure that harmful bacteria like Clostridium botulinum are destroyed, giving you peace of mind and jars of vibrant, shelf-stable tomatoes.
This process may seem intimidating at first, but once you understand the rhythm—preparing, packing, sealing, and storing—it becomes a rewarding kitchen ritual that connects you to generations of home preservers.
Step-by-Step Guide to Pressure Canning Tomatoes
Table of Contents

Pressure canning may sound technical, but it’s really about breaking the process into manageable stages. Each step builds on the last, ensuring that your tomatoes are not only preserved safely but also retain their flavor and texture.
By following a clear, structured guide, you’ll avoid common mistakes and gain confidence in the kitchen. Think of it as a roadmap—helping you move from fresh produce to beautifully sealed jars with ease.
Whether you’re new to canning or looking to refine your technique, this step-by-step walkthrough will give you the clarity and reassurance you need to succeed.
1. Choosing the Right Tomatoes

The foundation of successful canning lies in the quality of your produce. Starting with the best tomatoes ensures rich flavor and a safe, long-lasting preserve.
• Select ripe, firm tomatoes free of bruises or cracks.
• Paste varieties (like Roma) are ideal, but any type can be used.
• Avoid overripe or mushy tomatoes, as they can affect texture and sealing.
2. Preparing Your Equipment
A smooth canning day begins with well-prepared tools. Clean, organized equipment not only saves time but also guarantees food safety.
• Inspect your pressure canner for clean gaskets and secure lids.
• Wash jars, lids, and bands thoroughly in hot, soapy water.
• Keep jars warm until ready to fill.
• Consider sterilizing jars in boiling water for extra precaution.
3. Prepping the Tomatoes

Proper preparation brings out the natural sweetness of tomatoes and makes them easier to handle. This step transforms raw produce into canning-ready ingredients.
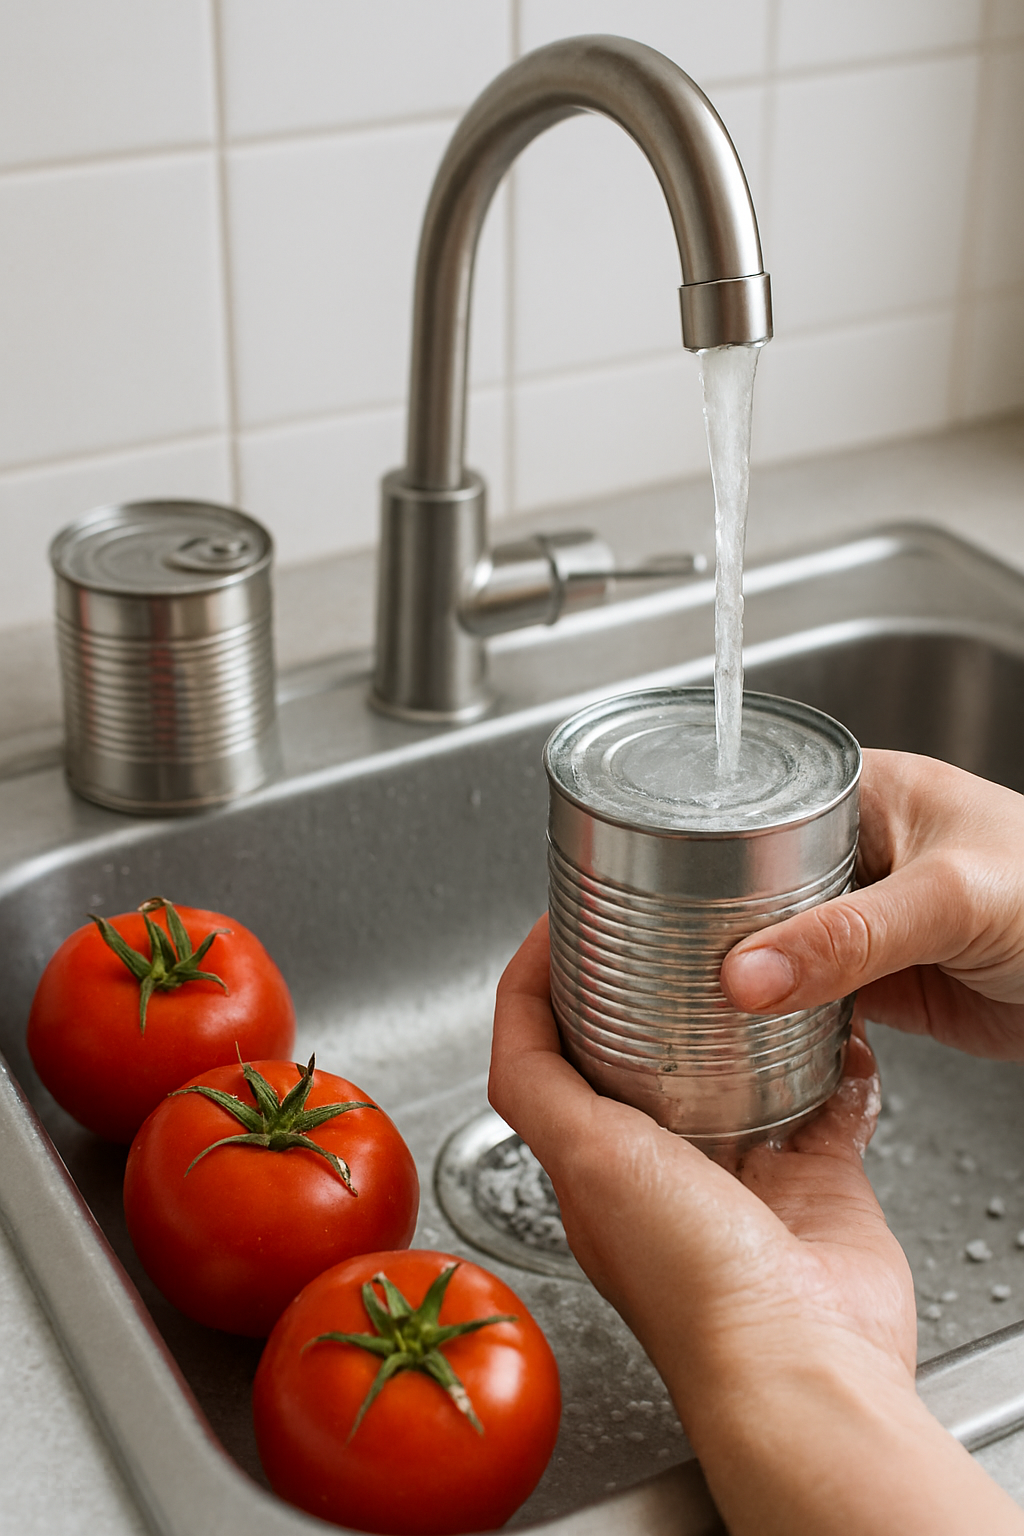
• Wash tomatoes and remove stems.
• Score the bottoms with a small “X.”
• Blanch in boiling water for 30–60 seconds, then transfer to ice water.
• Peel skins easily after blanching.
• Cut into halves or quarters if desired, removing tough cores.
4. Packing the Jars
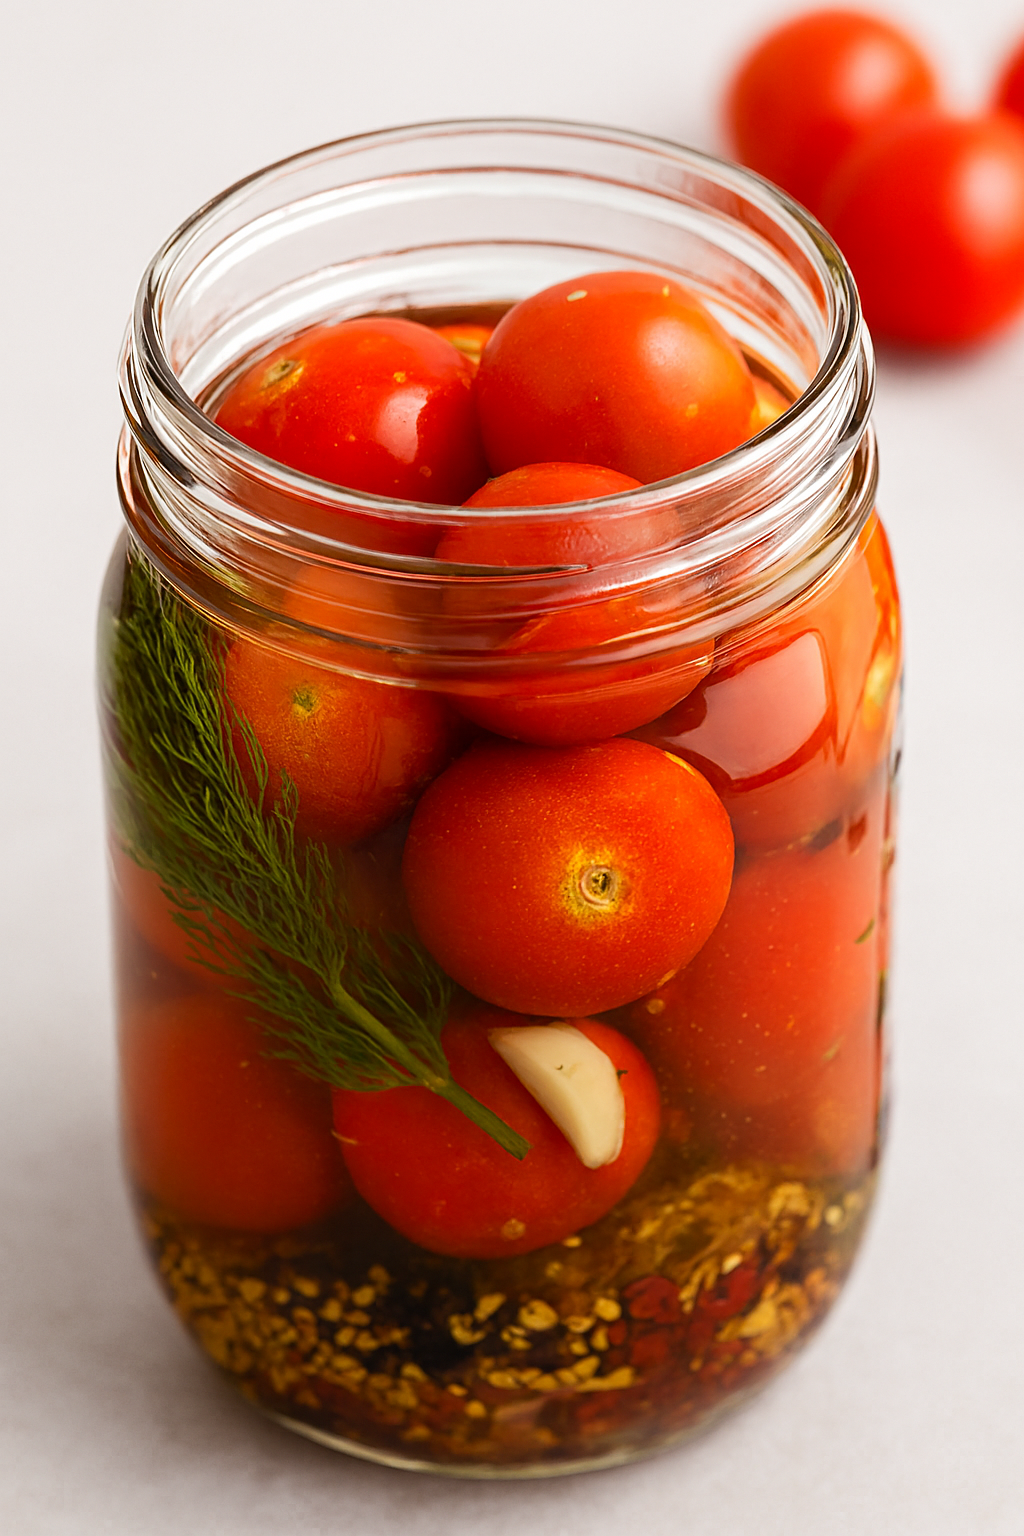
How you pack your jars determines both flavor and shelf life. Whether you choose hot pack or raw pack, careful layering ensures consistent results.
• Use either the hot pack (simmer tomatoes before packing) or raw pack (pack raw peeled tomatoes directly).
• Add bottled lemon juice or citric acid to each jar to ensure safe acidity.
• Add salt if desired for flavor, though it’s optional.
• Leave ½ inch headspace at the top to allow for expansion.
5. Sealing and Processing

This is the heart of pressure canning—the moment when science and tradition meet. Proper sealing and processing lock in freshness and eliminate harmful bacteria.
• Wipe jar rims clean and apply lids and bands.
• Place jars in the pressure canner with the recommended amount of water.
• Process at 10–15 pounds of pressure depending on altitude, for 25–40 minutes depending on jar size and packing method.
• Always consult your canner’s manual for specific adjustments. Add labels if required.
6. Cooling and Storing
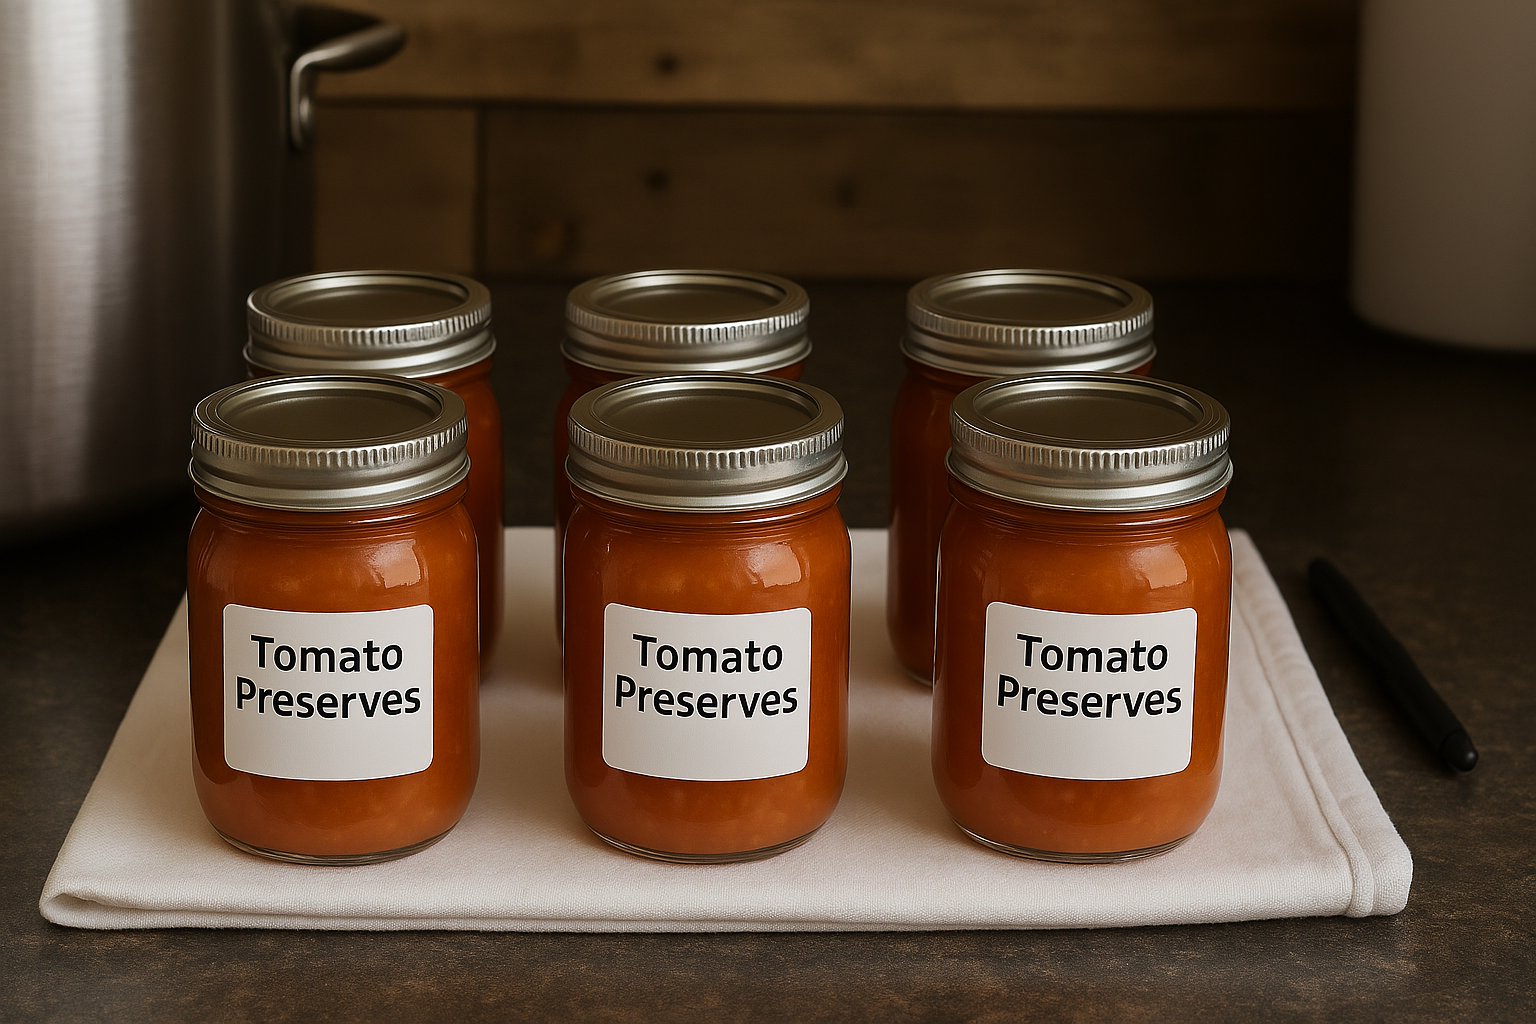
Patience pays off here. Allowing jars to cool naturally ensures strong seals and safe storage for months to come.
• Allow the canner to depressurize naturally—never force it.
• Remove jars and let them cool undisturbed for 12–24 hours.
• Check seals: lids should be concave and not flex when pressed.
• Label jars with the date and contents.
• Store sealed jars in a cool, dark place for up to a year.
Safety Tips
Pressure canning is a powerful preservation method, but it requires careful attention to detail. Following safety guidelines ensures that your tomatoes remain not only delicious but also safe to eat. These tips are non-negotiable—they protect your family from foodborne illness and guarantee that your hard work pays off with jars that last.
• Always use tested recipes from trusted sources.
Reliable recipes are designed with precise acidity and processing times. Avoid improvising, as even small changes can compromise safety.
• Do not skip the addition of acid (lemon juice or citric acid).
Modern tomato varieties often have lower acidity. Adding acid ensures the environment inside the jar is safe for long-term storage.
• Never force-cool a pressure canner; let it depressurize naturally.
Rapid cooling can cause jars to break or seals to fail. Allowing the canner to release pressure on its own keeps jars intact and food safe.
• Label jars with the date for easy rotation.
Proper labeling helps you track freshness and ensures you use older jars first. This prevents waste and keeps your pantry organized.
• If a jar doesn’t seal, refrigerate and use within a week.
A failed seal doesn’t mean the food is unsafe immediately, but it cannot be stored long-term. Refrigeration allows you to enjoy the tomatoes without risk.
Wrapping Up
Pressure canning tomatoes is more than just a preservation method—it’s a way of bottling sunshine and flavor for the months ahead. By following proper steps and safety guidelines, you’ll have jars of rich, versatile tomatoes ready to transform into soups, sauces, and family favorites.
With each hiss of the pressure canner, you’re not just saving food—you’re preserving tradition and taste for future meals. The process may take time, but the reward is a pantry lined with jars that carry the warmth of summer into the coldest winter days.
Leave a Reply