Tomato grafting is a powerful horticultural technique that blends the strengths of two plants into one. By joining a scion – the top part of the plant that produces fruit with a rootstock – the bottom part chosen for vigor and disease resistance, gardeners can enjoy heirloom flavors while benefiting from modern resilience.
Here is a detailed guide on how to graft tomato plants.
Why Graft Tomatoes?
Table of Contents
Tomatoes are beloved worldwide, but they’re also vulnerable to soilborne diseases, pests, and environmental stress. Grafting offers a solution by combining the best of both worlds – flavorful fruit varieties with hardy, disease-resistant roots.
This technique is especially valuable for gardeners in regions with recurring soil problems or those aiming for higher yields and longer harvest seasons.
Materials You’ll Need To Graft Tomato Plants
Before diving into the process, preparation is key. Gather these essentials:
Seedlings: One set of scion seedlings – your preferred tomato varieties like Roma, grape or cherry and one set of rootstock seedlings bred for disease resistance.
Tools: A sharp razor blade or grafting knife for clean cuts.
Clips: Silicone grafting clips to hold the union in place.
Healing Chamber: A humidity-controlled environment, which can be improvised with a plastic tent or box.
Labels: To track combinations and avoid confusion.
Step-by-Step Methods To Graft Tomatoes
Here are the step by step methods to graft tomatoes.
1. Preparing Seedlings

Success begins with healthy seedlings. Both scion and rootstock must be grown under similar conditions to ensure compatibility. Think of this stage as setting the foundation for a strong partnership.
- Sow seeds separately but provide equal care. Here is a complete guide on when to plant tomato seeds.
- Aim for seedlings that are 3–4 weeks old with stems about the thickness of a pencil lead.
- Water thoroughly before grafting to reduce stress.
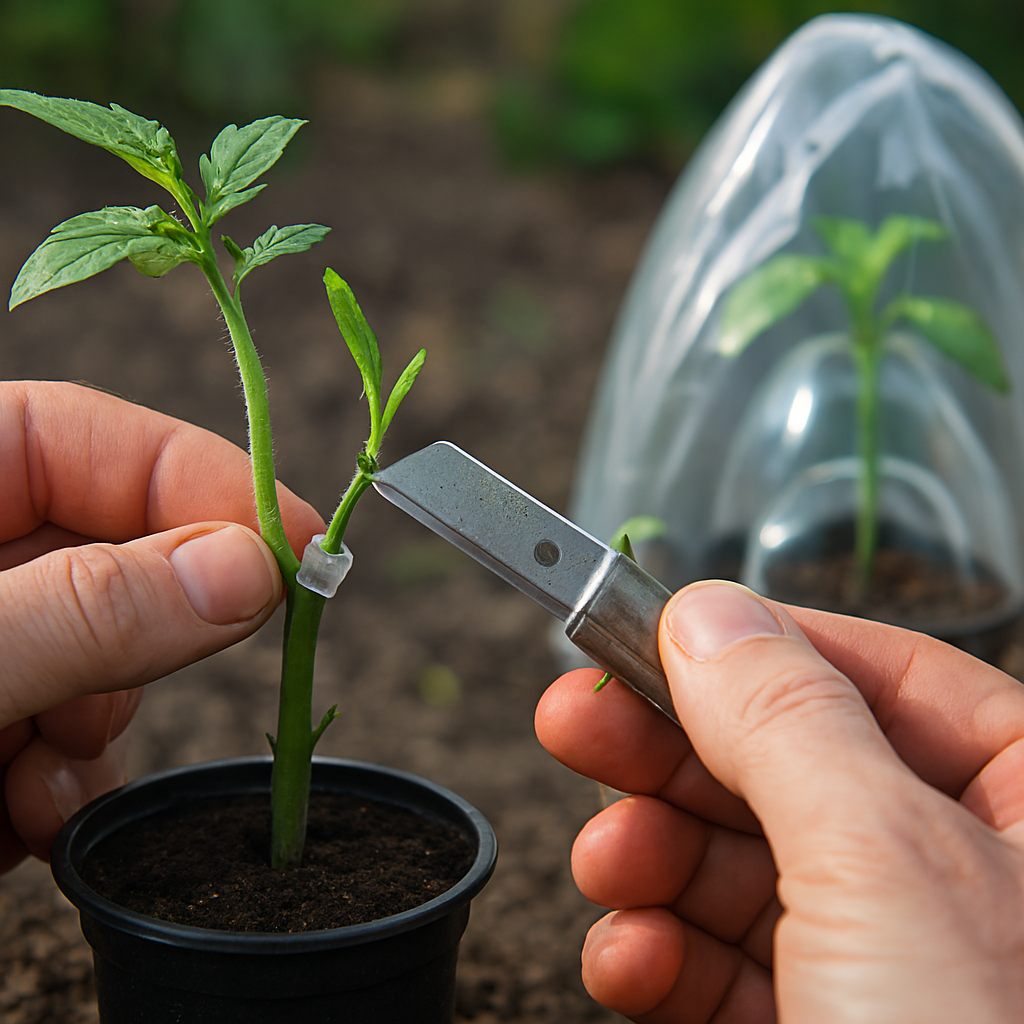
2. Making the Cuts
Precision is everything here. The cut determines how well the vascular tissues align, which directly affects graft success. A sloppy cut can doom the graft before it even begins.
- Cut the rootstock seedling at a 45° angle just above the cotyledons.
- Cut the scion seedling at a matching 45° angle below its cotyledons.
- Ensure cuts are smooth and clean to maximize contact.
3. Joining the Plants
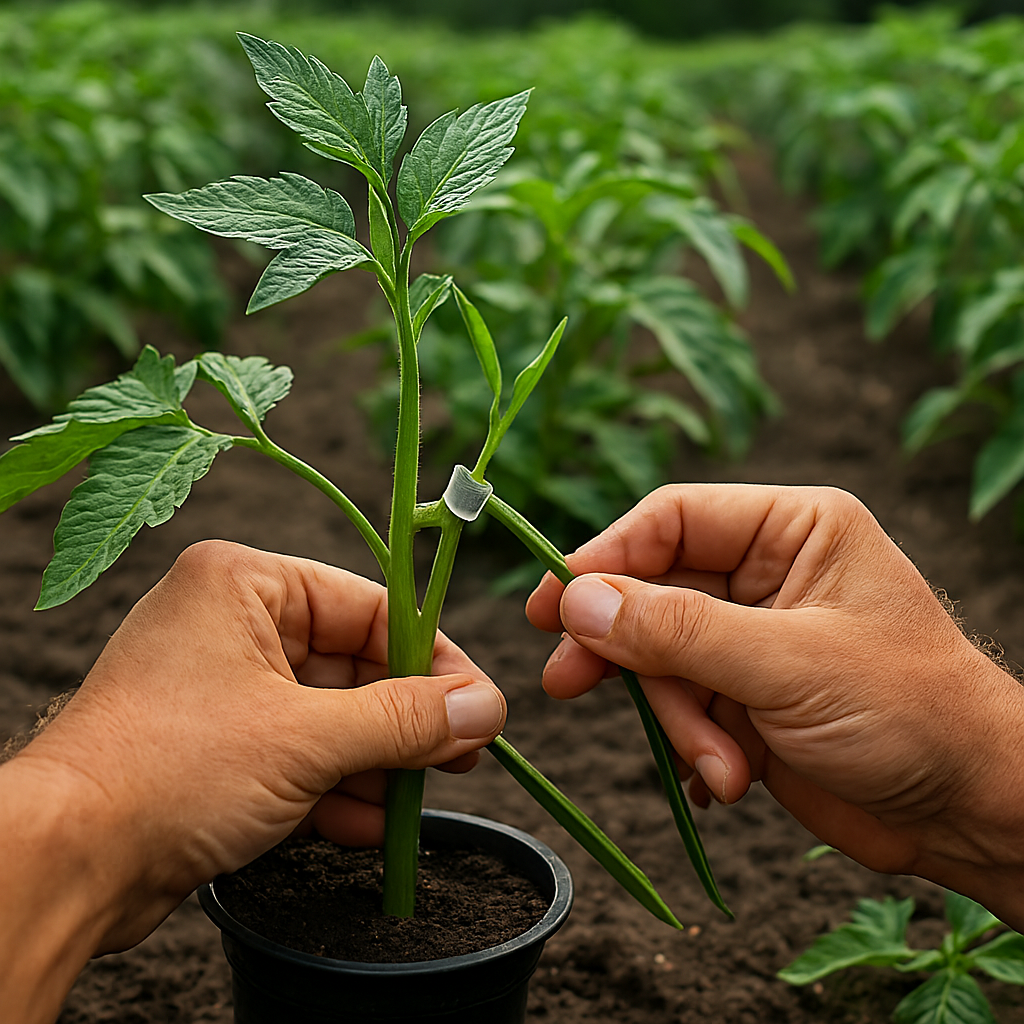
This is the moment of union—the point where two plants become one. Careful alignment ensures that nutrients and water can flow seamlessly between scion and rootstock.
- Align the cut surfaces carefully.
- Secure with a grafting clip, ensuring tight contact.
- Handle gently to avoid damaging the fragile tissues.
4. Healing Phase
Just like surgery patients, grafted plants need recovery time. The healing chamber mimics a protective environment where humidity and low light reduce stress and encourage tissue fusion.
- Place grafted plants in a chamber with 85–95% humidity and low light for 3–5 days.
- Gradually reintroduce light and reduce humidity over the next week.
- Avoid direct sunlight until plants are fully healed.
5. Post-Graft Care
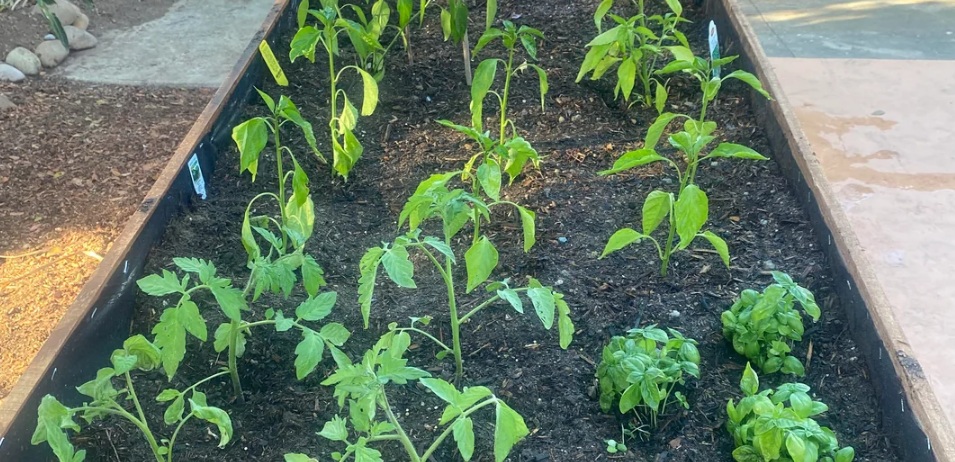
Once healed, grafted plants must be acclimated to normal growing conditions. This stage ensures they can thrive outdoors without shock.
- Remove clips after 7–10 days when plants are stable.
- Harden plants by slowly exposing them to outdoor conditions.
- Transplant into soil once vigorous and well-healed.
Common Mistakes to Avoid
Mismatched stem sizes – Poor alignment reduces graft success.
Too much light during healing – Causes wilting and graft failure.
Poor sanitation – Increases risk of infection at the graft site.
Rushing acclimatization – Plants need gradual exposure to avoid shock.
Gardeners often report yields 30–50% higher with grafted tomatoes. Plants remain productive longer, resist soilborne diseases, and thrive in challenging conditions. For commercial growers, this means reduced losses and higher profits. For home gardeners, it means more delicious tomatoes with less frustration.
Experiment with different rootstocks to see which performs best in your soil.
Try grafting multiple scions onto one rootstock for variety in a single plant.
Keep detailed notes on combinations, success rates, and yields for future improvement.
Wrapping Up
Tomato grafting is both an art and a science. With patience and practice, you can master this technique and enjoy the best of both worlds: heirloom flavor with modern resilience.
Grafting is like giving your tomato plants a “supercharged root system” while keeping the fruit you love. For any querries feel free to ask us in the comments section provided below.
Leave a Reply