Canning tomatoes is a timeless kitchen tradition that transforms peak-season produce into a pantry staple you can rely on all year long. When tomatoes are at their sweetest and most abundant, preserving them at home captures their bright flavor, vibrant color, and garden-fresh aroma.
Whether you grow your own crop or purchase them in bulk from a local farm stand or market, learning to safely can diced tomatoes gives you control over ingredients, flavor, and quality. Properly canned tomatoes become the foundation for soups, sauces, stews, casseroles, and countless comfort foods long after summer fades.
Beyond convenience, home canning offers satisfaction. With the right preparation, equipment, and attention to food safety guidelines, canning diced tomatoes is straightforward and approachable—even for beginners. Now here is a complete guide to can diced tomatoes.
Choosing the Right Tomatoes
Table of Contents
The success of your canned tomatoes begins with selecting the best fruit. Not all tomato varieties perform equally well in jars, so thoughtful selection makes a noticeable difference in texture and flavor.
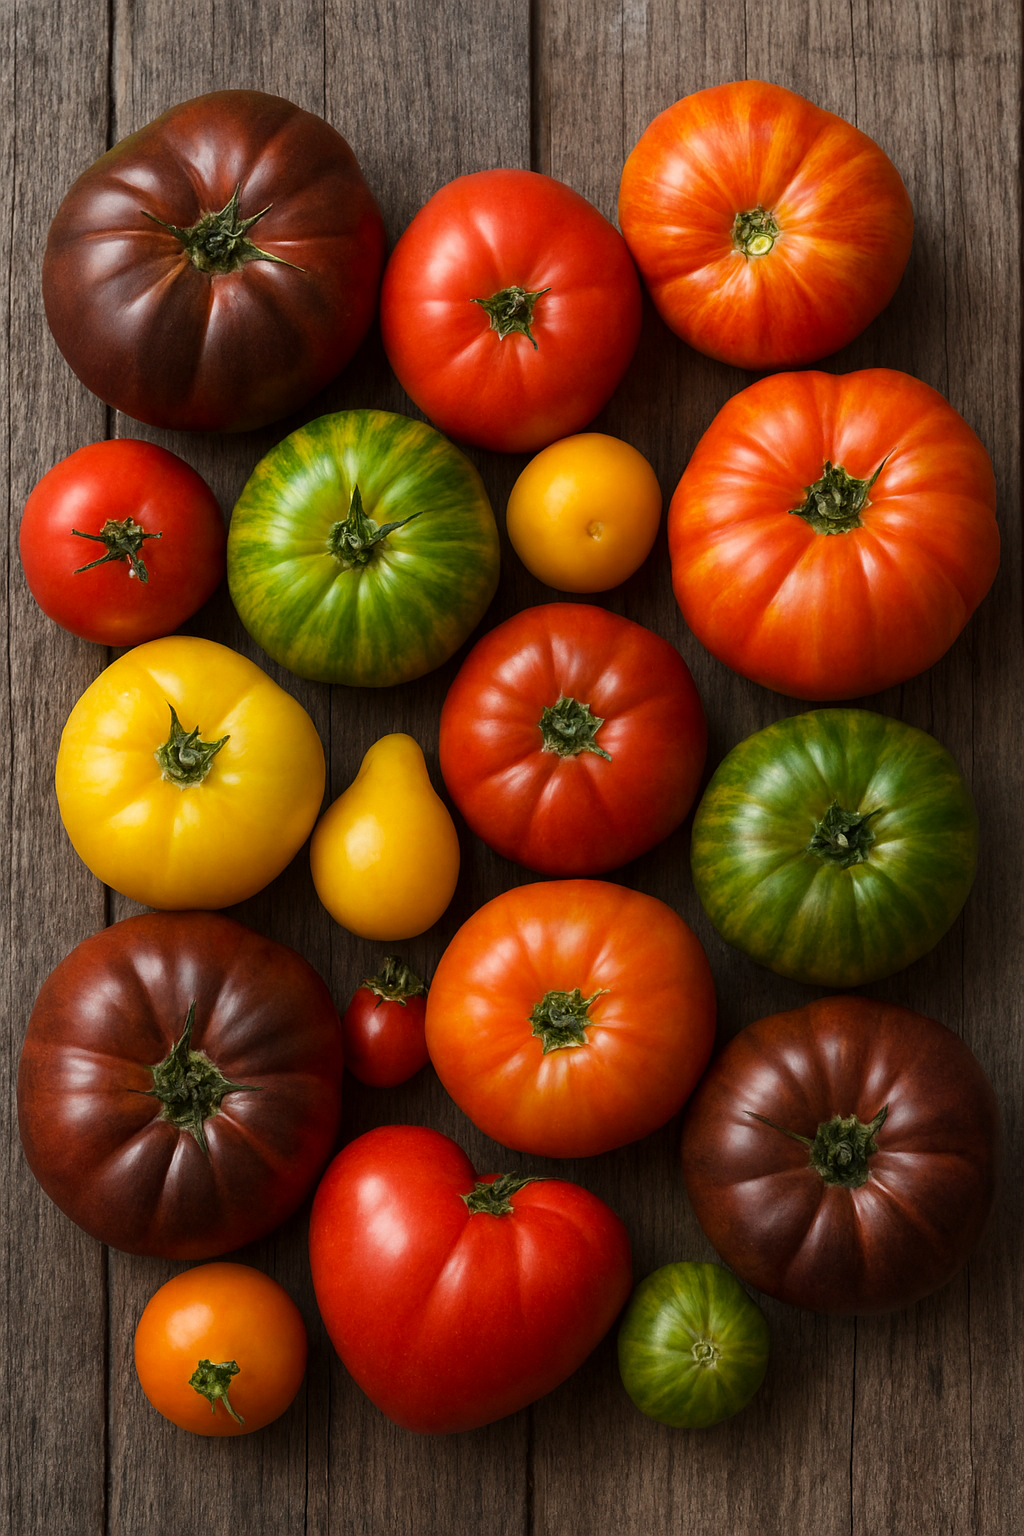
Best Varieties of Tomatoes
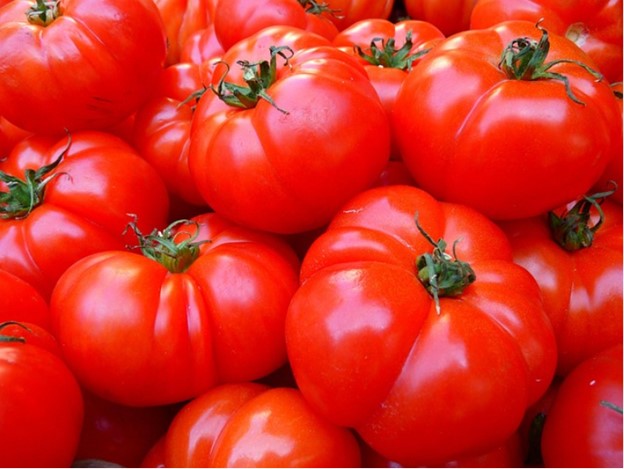
Meaty, low-moisture tomatoes are ideal. Roma and other plum varieties are especially popular because they contain fewer seeds and less juice, resulting in firmer diced pieces. Their dense flesh holds up well during processing, giving you a better final texture.
Ripeness Matters
Choose tomatoes that are fully ripe but still firm. They should feel heavy for their size and have a deep, uniform color. Avoid tomatoes that are overly soft, bruised, cracked, or moldy. Small imperfections can be trimmed away, but heavily damaged fruit should not be used for canning.
Seasonal Timing
Late summer, typically August through September in many regions, is prime tomato season. During this time, tomatoes are abundant, affordable, and at peak flavor. Buying in bulk during this window ensures better taste and cost savings.
Estimating Quantity
A general guideline is that approximately 2½ to 3 pounds of tomatoes yield one quart of canned diced tomatoes. A 20-pound flat will produce around 7 quarts, though exact amounts vary depending on variety and trimming.
Equipment Needed To Can Tomatoes
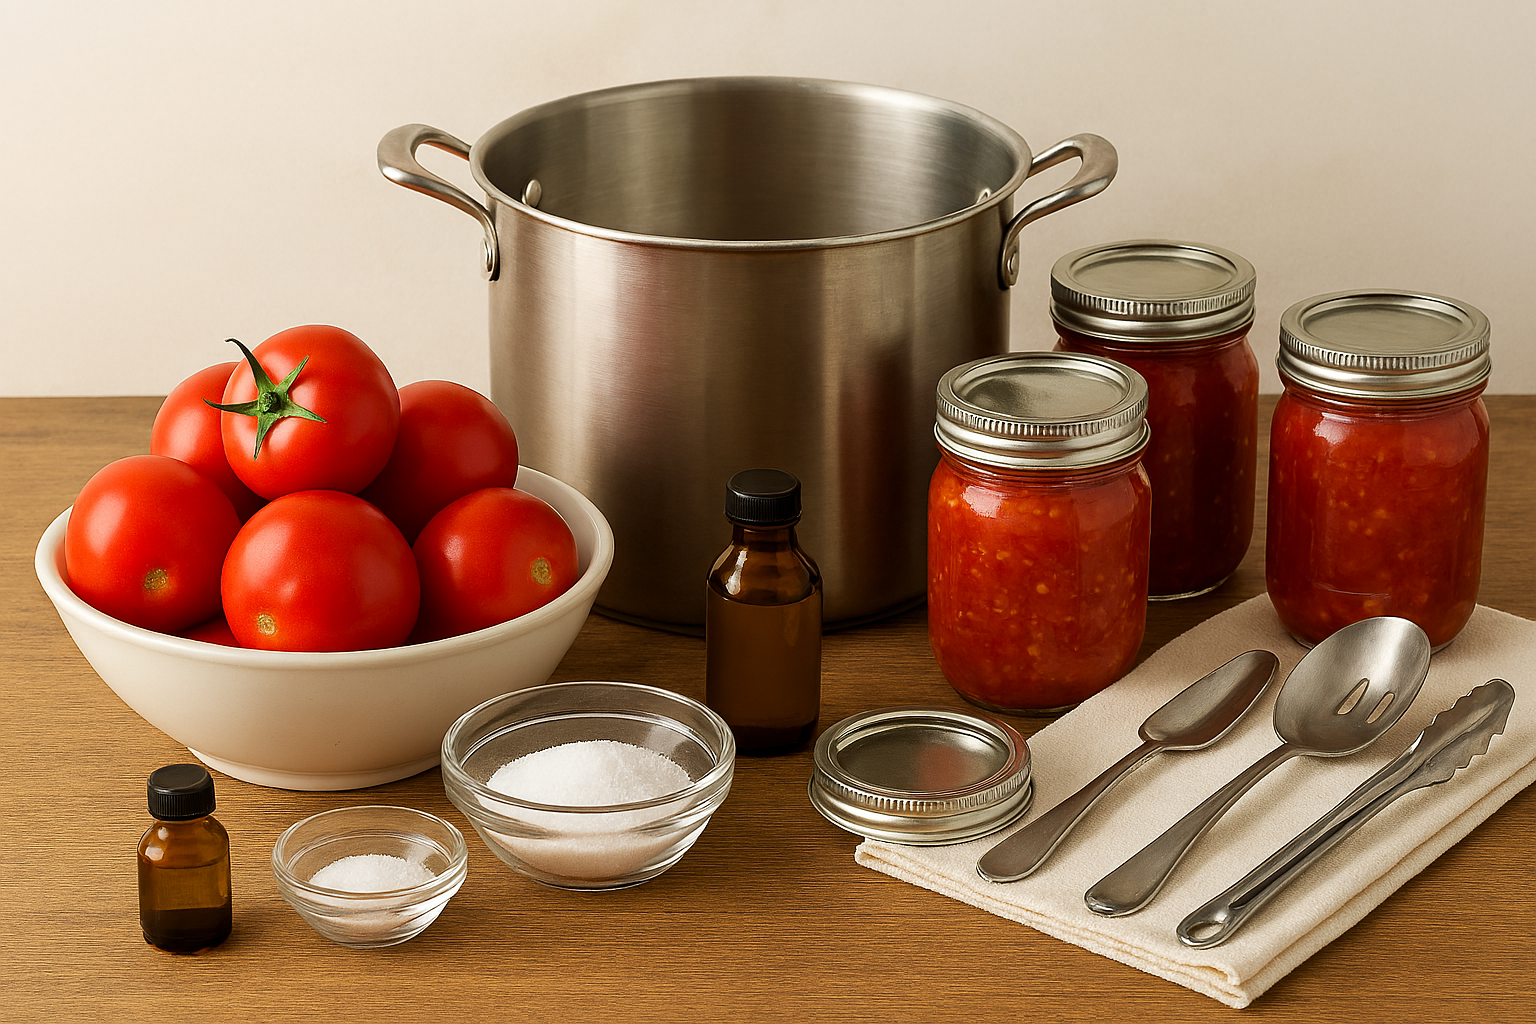
Having the right tools makes the process smoother and safer. Organizing everything before you begin will save time and prevent stress during the canning process.
You will need:
- A large stockpot for blanching
- A water bath canner with rack (or a deep pot with a fitted rack)
- Canning jars (pint or quart size)
- New lids and screw bands
- Jar lifter
- Canning funnel
- Bubble remover or non-metallic spatula
- Clean kitchen towels
- Large bowl filled with ice water
- Sharp knife and cutting board
If you live at higher elevations, a reliable kitchen timer and an altitude adjustment chart are essential for safe processing.
Ingredients To Can Tomatoes
The ingredient list is simple but important for both flavor and food safety:
- Fresh tomatoes (Roma or plum preferred)
- Bottled lemon juice or citric acid
- Canning salt (optional)
Tomatoes are borderline acidic, meaning their natural acidity can vary. For safe water bath canning, acid must be added to each jar. Always use bottled lemon juice rather than fresh-squeezed juice because bottled juice has standardized acidity levels.
Step-by-Step Process of Canning Tomatoes
Follow the step by step guide to can diced tomatoes:
1. Prepare the Tomatoes
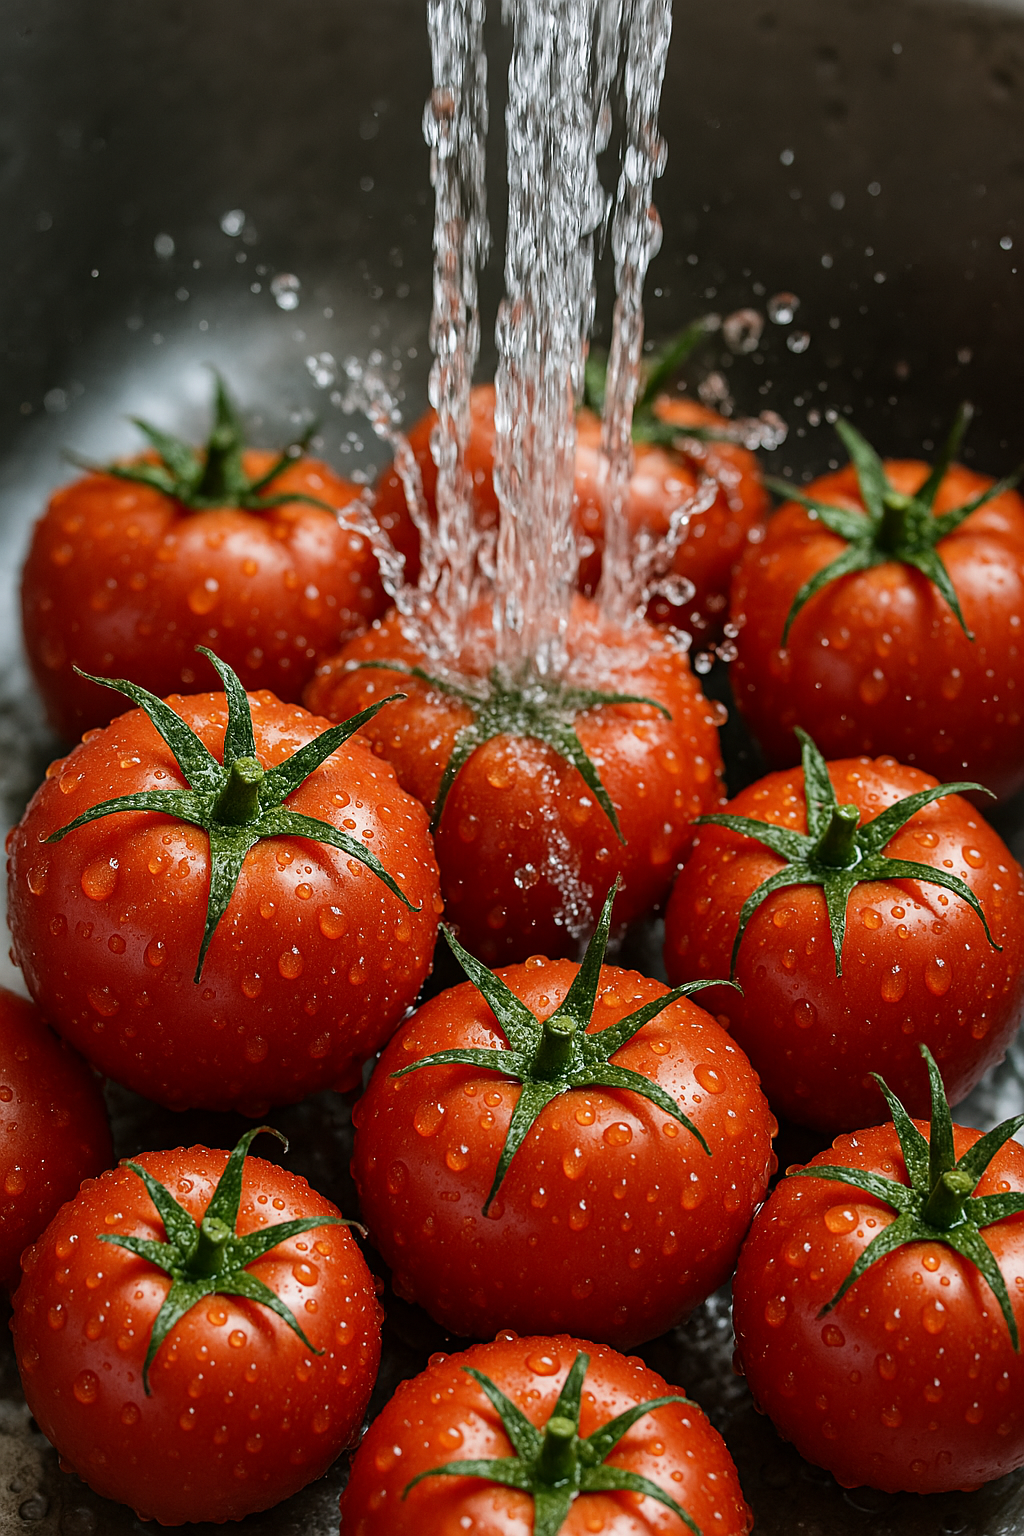
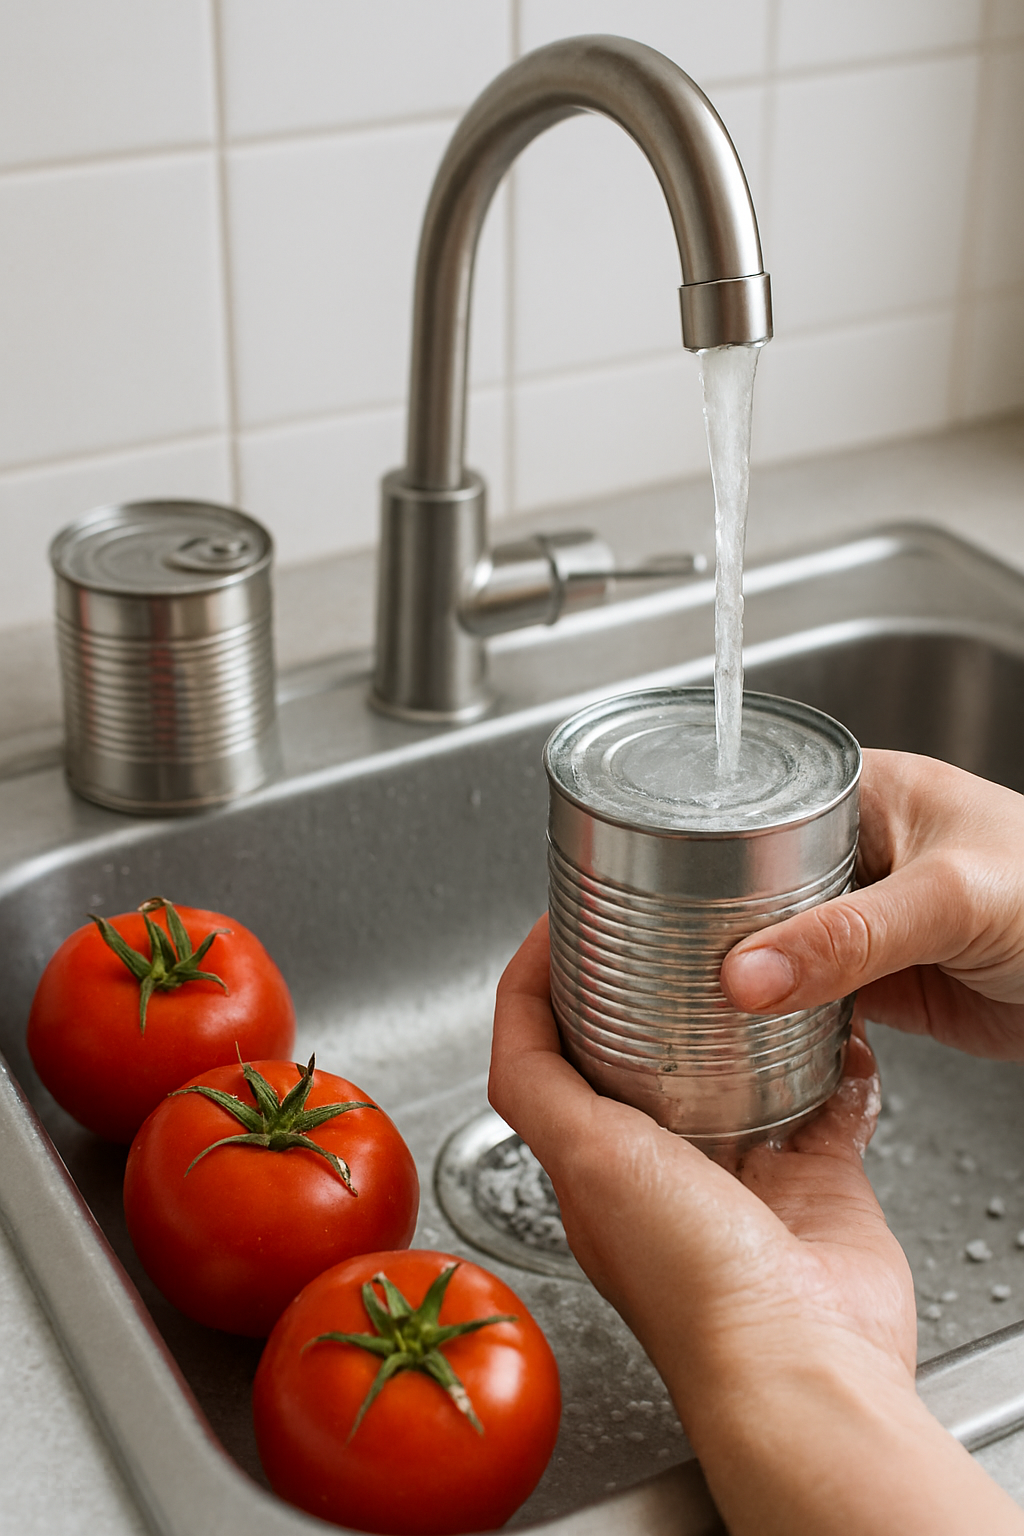
Start by washing tomatoes thoroughly under cool running water. Remove stems and trim away blemishes. To peel, bring a large pot of water to a rolling boil. Score a small “X” on the bottom of each tomato. Submerge them in boiling water for 30 to 60 seconds, just until the skins begin to loosen.
Immediately transfer the tomatoes to an ice water bath. The skins should slip off easily. While peeling is technically optional, removing skins improves texture and prevents tough pieces from floating in the jar.
Once peeled, core the tomatoes and dice them into evenly sized pieces. Uniform chunks promote consistent heating during processing.
2. Sterilize and Prepare Jars
Wash jars, lids, and bands in hot soapy water and rinse thoroughly. If processing time is less than 10 minutes, jars must be sterilized by boiling for 10 minutes. Since tomato processing times exceed 10 minutes, sterilization is optional—but jars should still be kept hot until filling to prevent breakage.
Keep jars warm in simmering water or in a low-temperature oven. Prepare lids according to manufacturer instructions.
3. Fill the Jars Properly
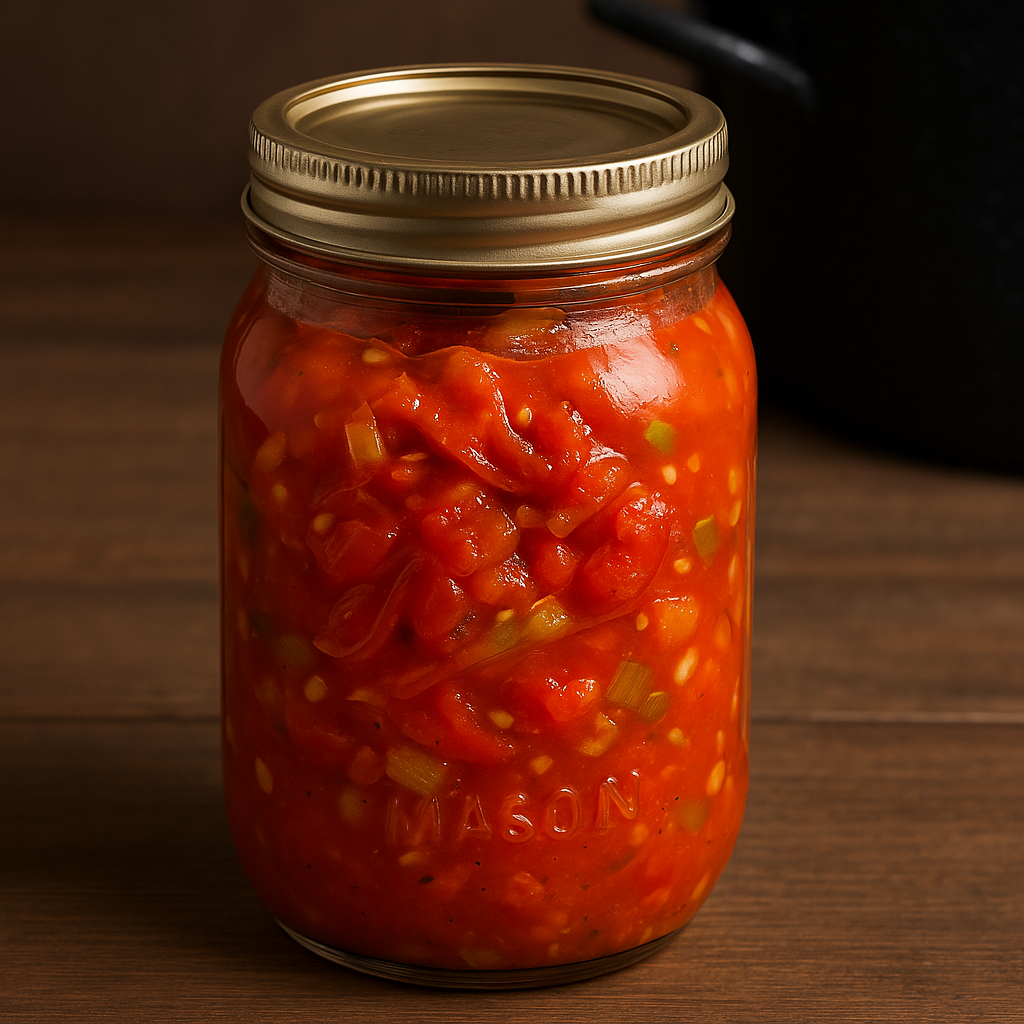
Place a clean jar on a towel or wooden surface. Add acidity first:
1 tablespoon bottled lemon juice per pint
2 tablespoons per quart
Alternatively, use ¼ teaspoon citric acid per pint (½ teaspoon per quart).
Using a funnel, pack diced tomatoes into the jar. You may gently press them down to release some juice, but do not crush excessively. Leave ½-inch headspace at the top.
Add salt if desired—½ teaspoon per pint or 1 teaspoon per quart. Salt enhances flavor but is not required for preservation.
Remove trapped air bubbles by sliding a non-metallic spatula around the inside of the jar. Adjust headspace if needed. Wipe rims with a clean damp cloth, apply the lid, and secure the band until fingertip-tight.
4. Process the Jars
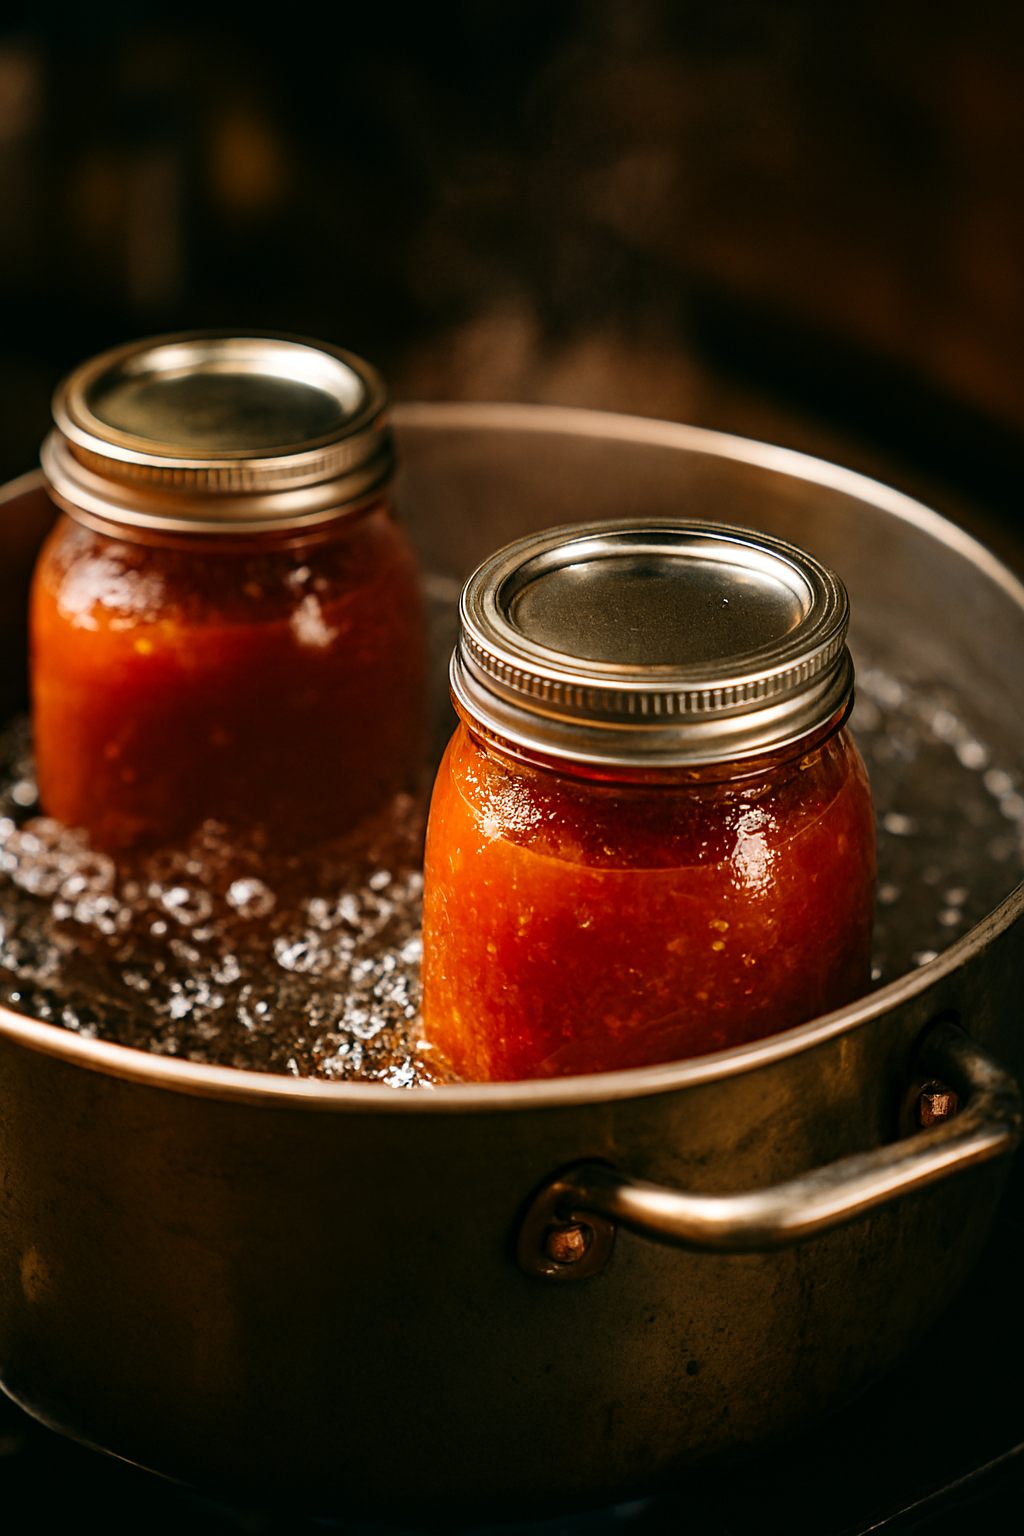
Place filled jars onto the rack in your water bath canner. Ensure jars are covered by at least 1 to 2 inches of water. Bring to a full rolling boil before starting your timer.
Process times:
Pints – 35 minutes
Quarts – 45 minutes
Adjust processing time according to your altitude if above 1,000 feet.
Maintain a steady boil throughout processing. When time is complete, turn off heat and let jars sit in the canner for 5 minutes before removing.
5. Cool and Store Safely

Using a jar lifter, carefully remove jars and place them on a towel-lined surface. Leave space between jars and avoid tilting them. Do not tighten bands or press lids while hot.
Allow jars to cool undisturbed for 12 to 24 hours. You may hear a satisfying “ping” as lids seal.
After cooling, check seals by pressing the center of each lid. Properly sealed lids will not flex. Remove screw bands, wipe jars clean, label with the date, and store in a cool, dark place.
Properly canned tomatoes maintain best quality for 12 to 18 months.
Tips for Best Results
Always follow tested canning guidelines for safety.
Use bottled lemon juice to guarantee proper acidity.
Avoid adding onions, peppers, or herbs unless using a tested recipe.
If a jar fails to seal, refrigerate and use within a few days.
For a hotter pack method, you may simmer diced tomatoes for 5 minutes before filling jars to reduce floating.
Creative Ways to Use Canned Diced Tomatoes

Home-canned diced tomatoes are remarkably versatile. Use them to create hearty vegetable soups, slow-simmered pasta sauces, or rich chili. Stir them into curries, add them to braised meats, or blend them into smooth tomato soup. They also serve as a base for shakshuka, salsa, and casseroles.
Because they contain no added preservatives, their flavor is clean and adaptable. You control salt and seasoning, allowing flexibility in recipes.
Wrapping Up
Canning diced tomatoes is both practical and deeply satisfying. By selecting quality produce, maintaining proper acidity, and following safe processing techniques, you can preserve the bright essence of summer in every jar.
The process requires care, but the reward is a shelf lined with vibrant tomatoes ready to enrich meals year-round. With practice, confidence grows, and what once felt like a project becomes a cherished seasonal ritual.
Leave a Reply