Fresh, homegrown tomatoes are one of the highlights of summer. But before you can turn them into canned sauces, soups, or crushed tomatoes, there’s one task almost everyone dreads—peeling them.
Peeling tomatoes for canning doesn’t have to be slow. With the right technique, the skins slip off in seconds, leaving you with smooth, ready-to-can tomatoes while preserving as much of the flesh as possible.
In this guide, we’ll discuss the easiest way to peel tomatoes for canning, why removing the skin matters, and a few tips that can save you time when you’re processing large batches.
Why Peel Tomatoes Before Canning?
Table of Contents
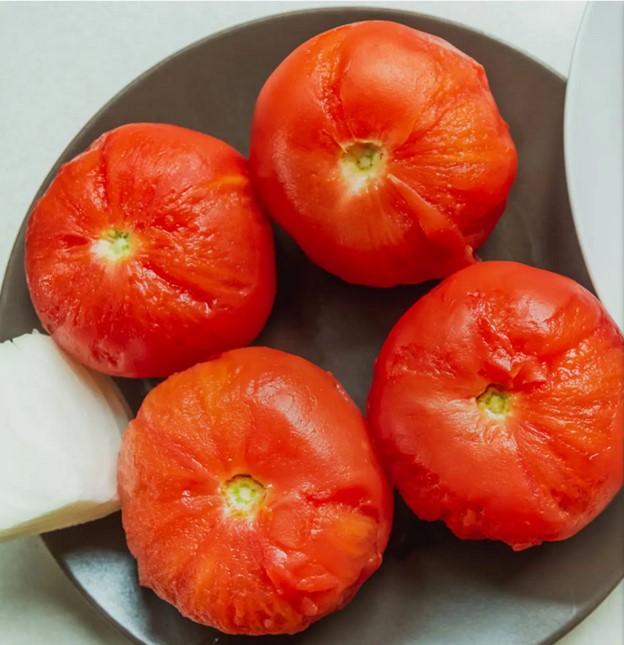
Tomato skins don’t soften much during the canning process. They often become tough, curl up in jars, and separate from the flesh, giving canned tomatoes an unpleasant texture.
Removing the skins also helps –
- Create smoother sauces and soups.
- Improve the appearance of canned tomatoes.
- Remove some surface dirt and residues.
- Reduce the chance of bitter skin fragments affecting flavor.
While some recipes allow tomatoes to be canned with their skins, peeling is generally recommended for the best quality.
What You’ll Need For Peeling Tomatoes
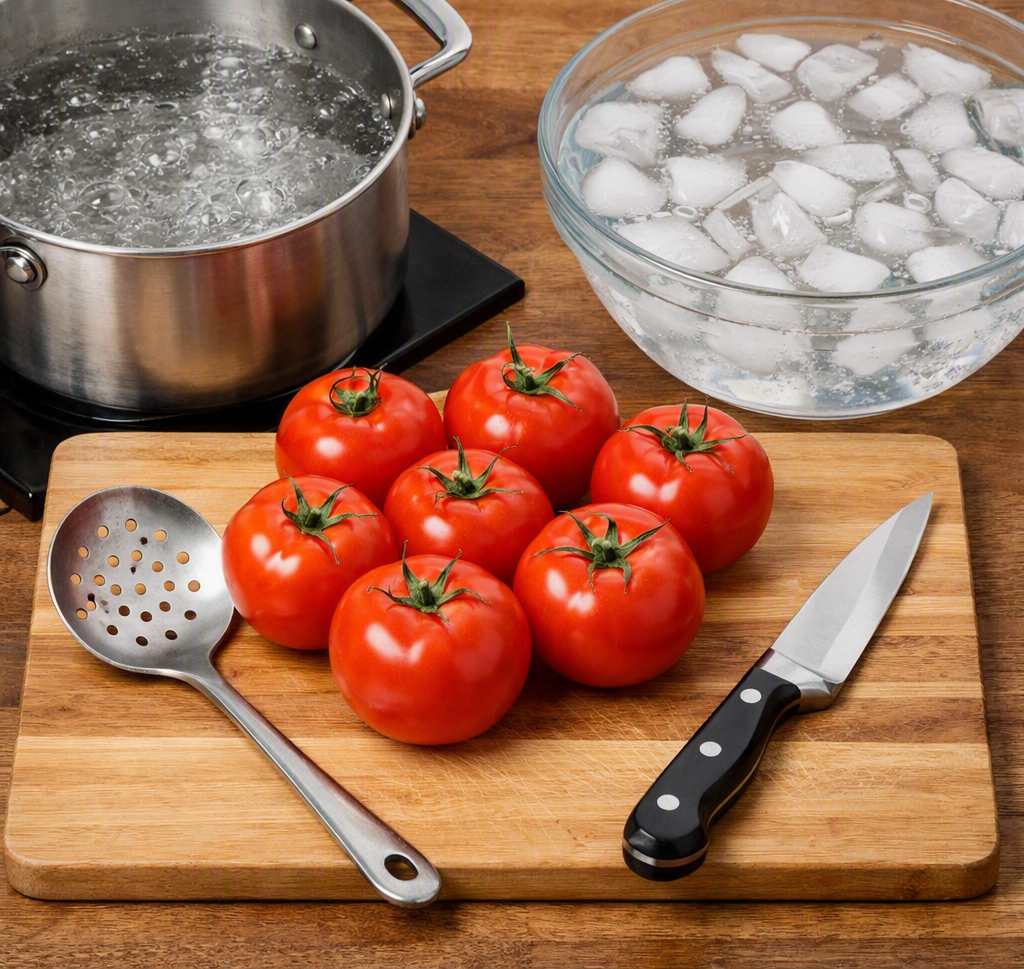
Before you begin, gather –
- Fresh, ripe tomatoes
- A large pot of boiling water
- A bowl filled with ice water
- A sharp knife
- A slotted spoon
- Cutting board
Having everything ready beforehand makes the process much faster.
Wash the Tomatoes
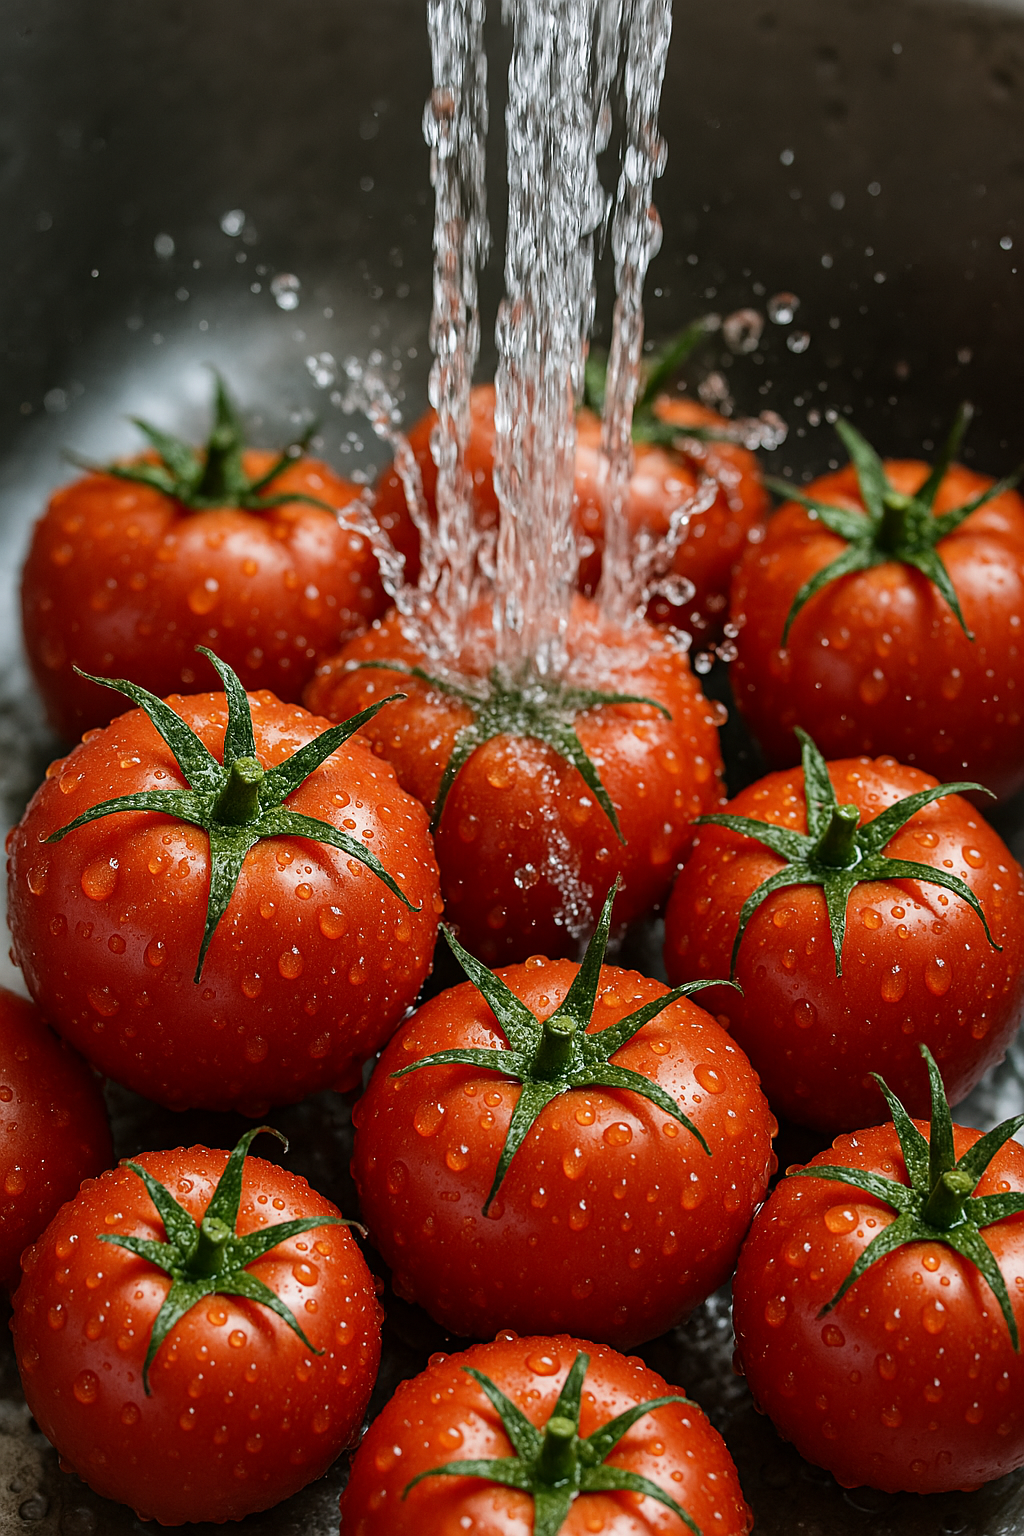
The first step is to wash the tomatoes. Here’s what to do:
- Rinse each tomato thoroughly under cool running water to remove dirt, leaves, and any garden debris.
- Discard tomatoes that are moldy or badly damaged. Small blemishes can simply be trimmed away.
- Cut a Small “X” on the Bottom
- Using a sharp knife, make a shallow X-shaped cut on the blossom end (the bottom) of every tomato.
- The cuts only need to be about half an inch long. This simple step, gives the skin somewhere to split during blanching, making it much easier to remove later.
Blanch the Tomatoes
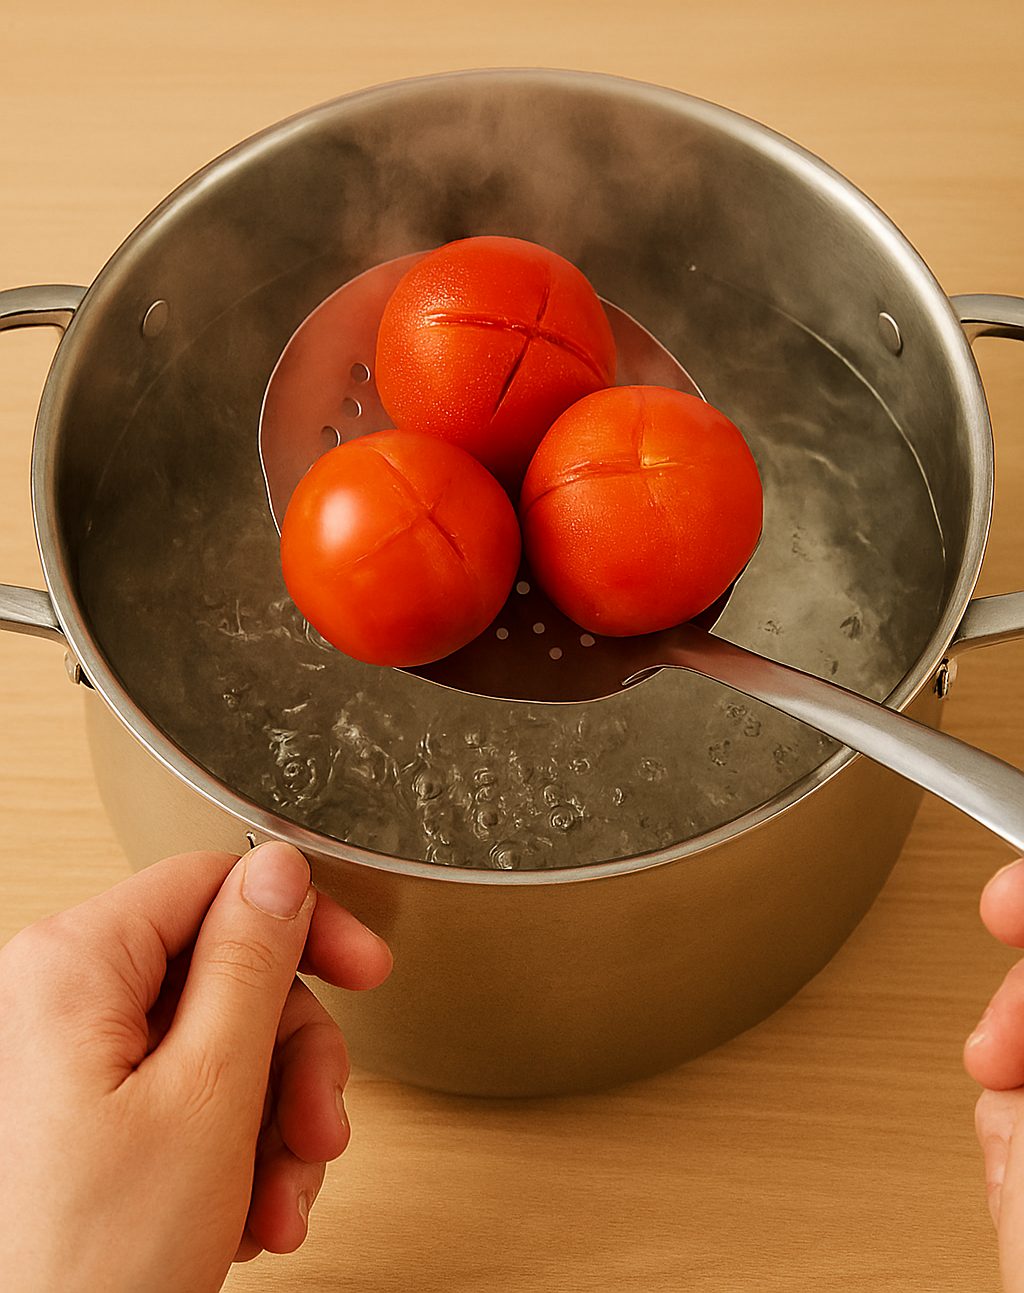
The next step is to blanch the tomatoes. Follow this process to do it properly:
- Bring a large pot of water to a rolling boil.
- Carefully lower a few tomatoes into the boiling water. Avoid overcrowding the pot. Leave them in for approximately -30 seconds for very ripe tomatoes and 45–60 seconds for firmer tomatoes
- Watch closely. Once the skin begins to wrinkle or peel back around the X, they’re ready.
Leaving tomatoes in the boiling water too long can start cooking the flesh, making them softer than necessary.
Transfer to Ice Water
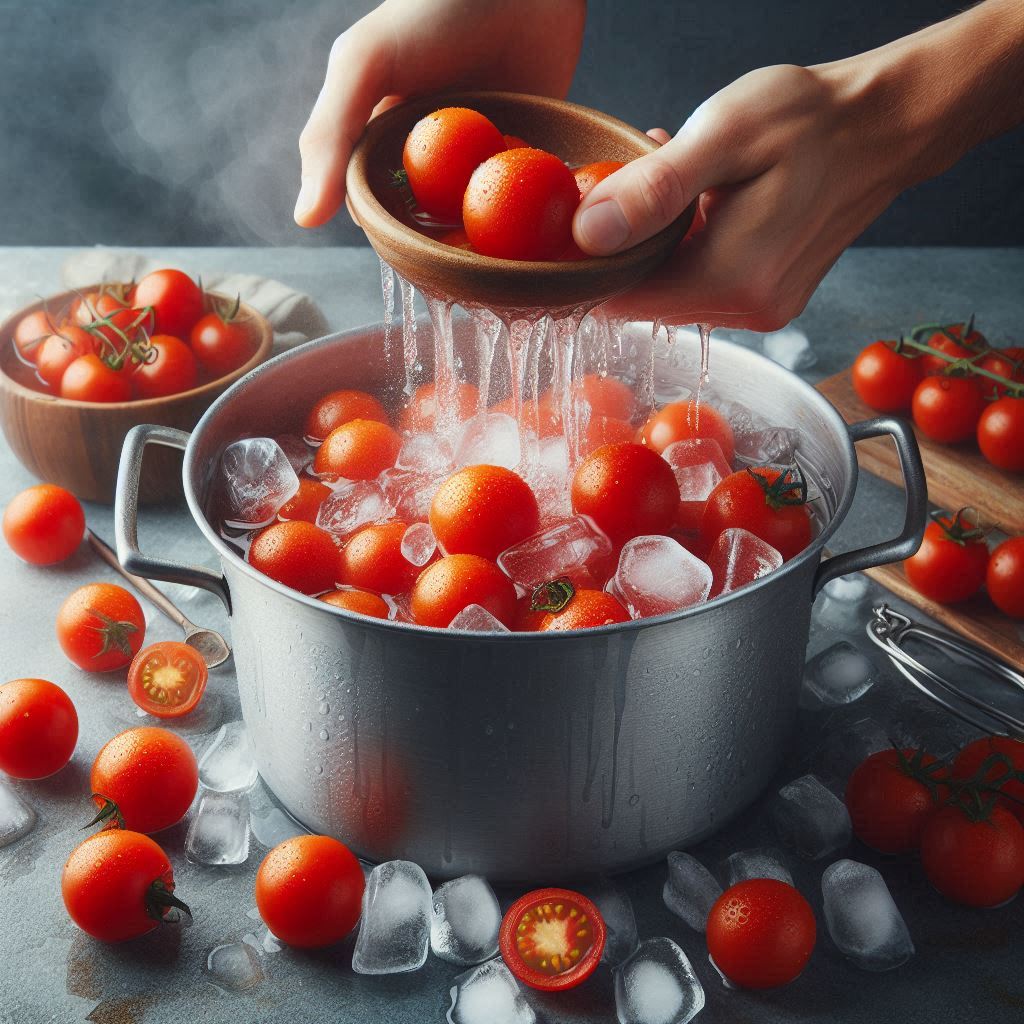
Once you have blanched the tomatoes, immediately move the tomatoes into a bowl of ice water. This quick temperature change stops the cooking process and helps loosen the skins even further.
Let them cool for about one minute.
Peel Away the Skin
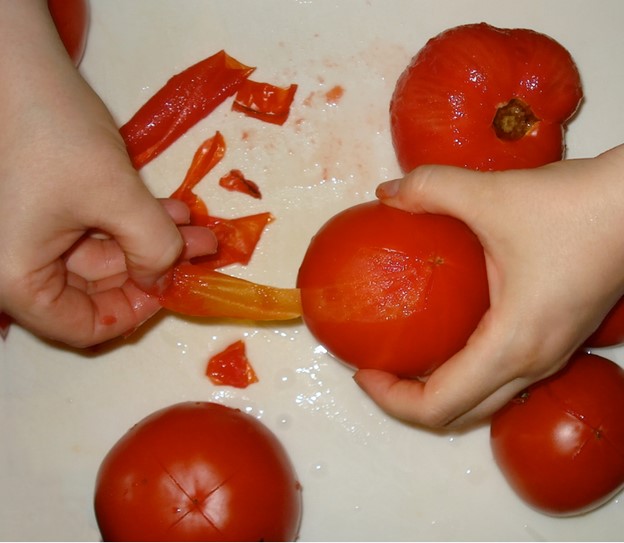
The next thing you should do is, start peeling the tomatoes. Here’s how to do that properly:
- Starting at the X-shaped cut, gently pull back the skin using your fingers.
- In most cases, it will slide off easily in large pieces.
- If a section sticks, use a small knife to lift the edge rather than cutting away the flesh.
Core the Tomatoes
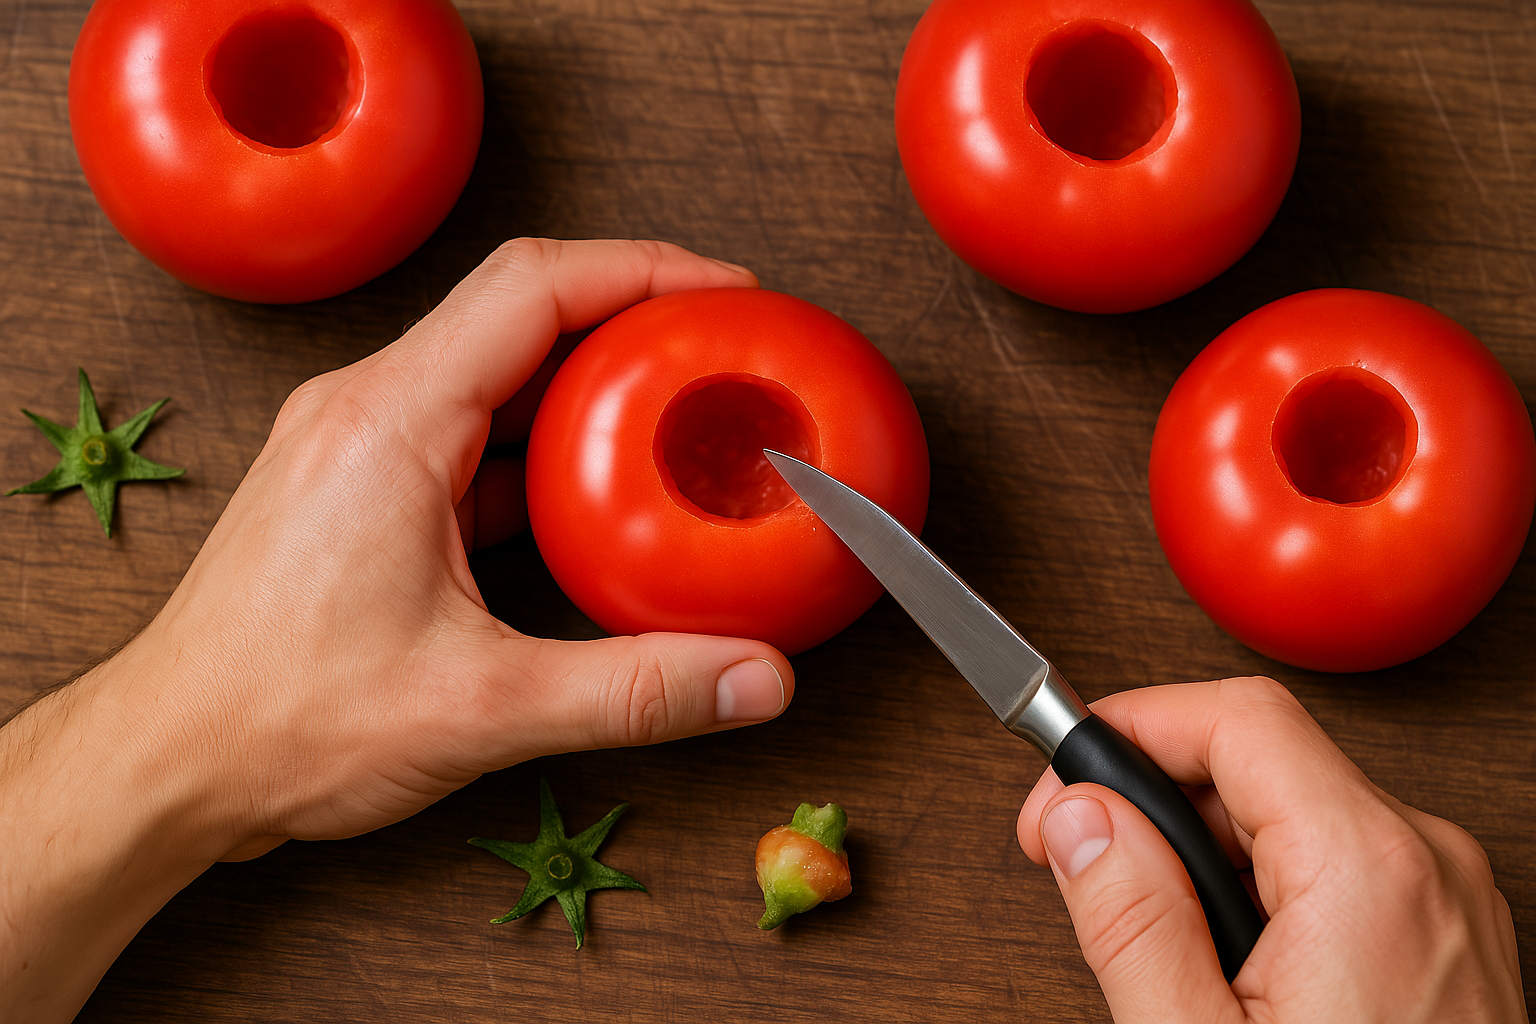
Once peeled, remove the tough core from the stem end using a paring knife.
Depending on your recipe, you can:
- Leave the tomatoes whole
- Cut them into halves
- Quarter them
- Dice them
- Crush them for sauce
They’re now ready for your preferred canning recipe.
Tips for Peeling Large Batches
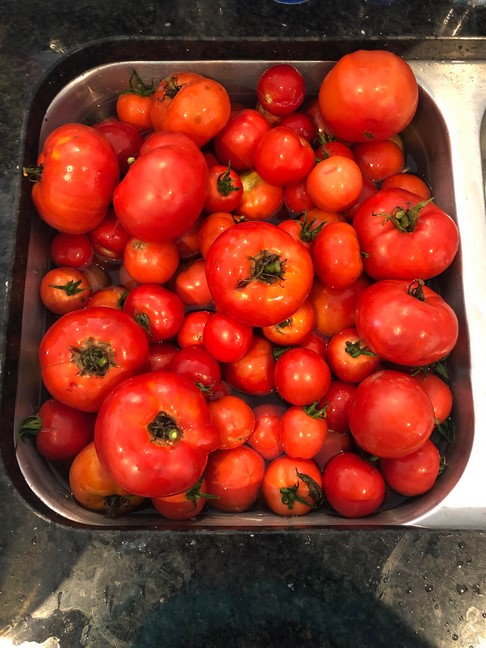
When you’re preserving dozens of pounds of tomatoes, efficiency and consistency matter.
Small adjustments in your process can save hours of work and improve the quality of your preserved tomatoes.
Work in Small Batches
Blanching too many tomatoes at once cools the water and reduces effectiveness.
- Limit each batch to 4–8 tomatoes
- Keep water at a rolling boil for best results
- Rotate batches quickly to maintain pace
Use Fully Ripe Tomatoes
Ripe tomatoes peel more easily and produce better texture.
- Select tomatoes with deep color and slight softness
- Avoid green or firm under‑ripe fruits
- Ripe skins loosen quickly during blanching
Keep the Water Boiling
Temperature consistency ensures skins loosen evenly.
- Wait for water to return to a full boil before adding next batch
- Cover pot briefly to speed re-heating
- Stir occasionally to prevent sticking
Refresh the Ice Water
Cold water stops cooking instantly and loosens skins further.
- Replace melted ice with fresh cubes
- Keep water cold throughout the process
- Submerge tomatoes fully for rapid cooling
Can You Peel Tomatoes Without Blanching?
Yes, but expect slower results. Alternative methods include:
- Roasting – Skins blister and lift easily, but flesh becomes smoky and soft.
- Freezing – Skins slip off after thawing, though texture changes slightly.
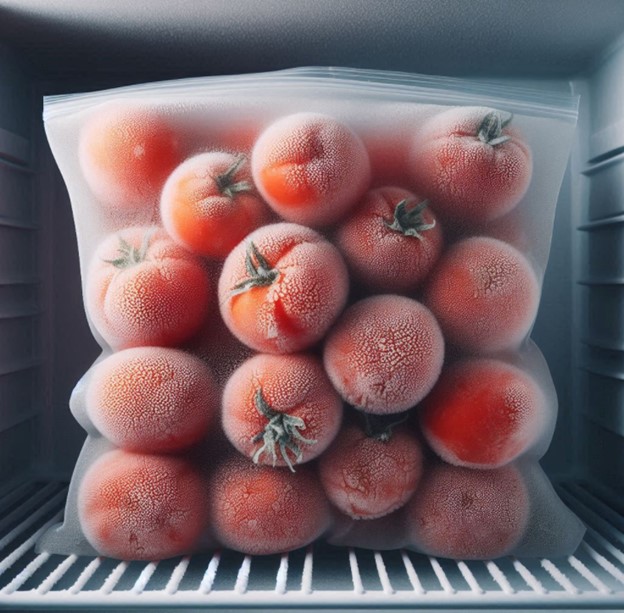
These methods are useful if you want added flavor or convenience, but for canning, blanching remains the fastest and most reliable.
Should You Remove the Seeds?
Seed removal is optional and depends on your recipe:
- Leave seeds in – Works well for crushed tomatoes, chunky sauces, or rustic dishes.
- Remove seeds – Ideal for smooth purées, ketchup, or recipes where texture matters.
Use a spoon or squeeze gently after peeling to remove seeds without losing too much juice.
Common Mistakes to Avoid
Avoid these pitfalls to keep peeling efficient and your tomatoes in top condition:
- Overcooking during blanching – Skins loosen in seconds; longer cooking makes tomatoes mushy.
- Skipping the ice bath – Without cooling, tomatoes continue cooking and lose firmness.
- Using under‑ripe tomatoes – Skins cling stubbornly, wasting time.
- Cutting the X too deeply – Only score the skin; deep cuts waste flesh.
- Overcrowding the pot – Reduces water temperature and slows peeling.
Wrapping Up
Peeling tomatoes for canning may seem like an extra step, but it only takes a few minutes once you know the technique.
A quick blanch in boiling water followed by an ice bath allows the skins to slide off effortlessly, leaving perfectly prepared tomatoes ready for preserving.
Whether you’re canning a handful of garden tomatoes or processing an entire harvest, this simple method saves time, reduces waste, and helps produce better-tasting canned tomatoes you’ll enjoy throughout the year.
Leave a Reply